

Active Origami Posts


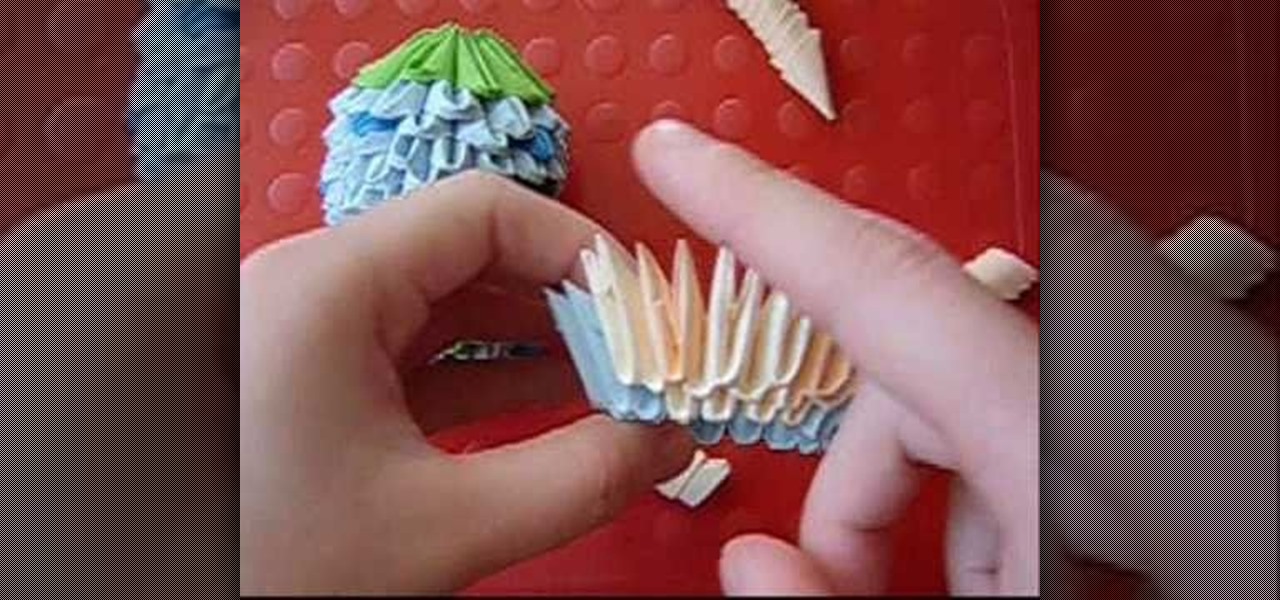
How To: Make a strawberry out of 3-D origami
Make sure that you already know the basics of 3-D origami - the folding of triangles. Once you have enough red, white and green triangles, you can form them into a fat, juicy strawberry! Practice also rounding out your corners.
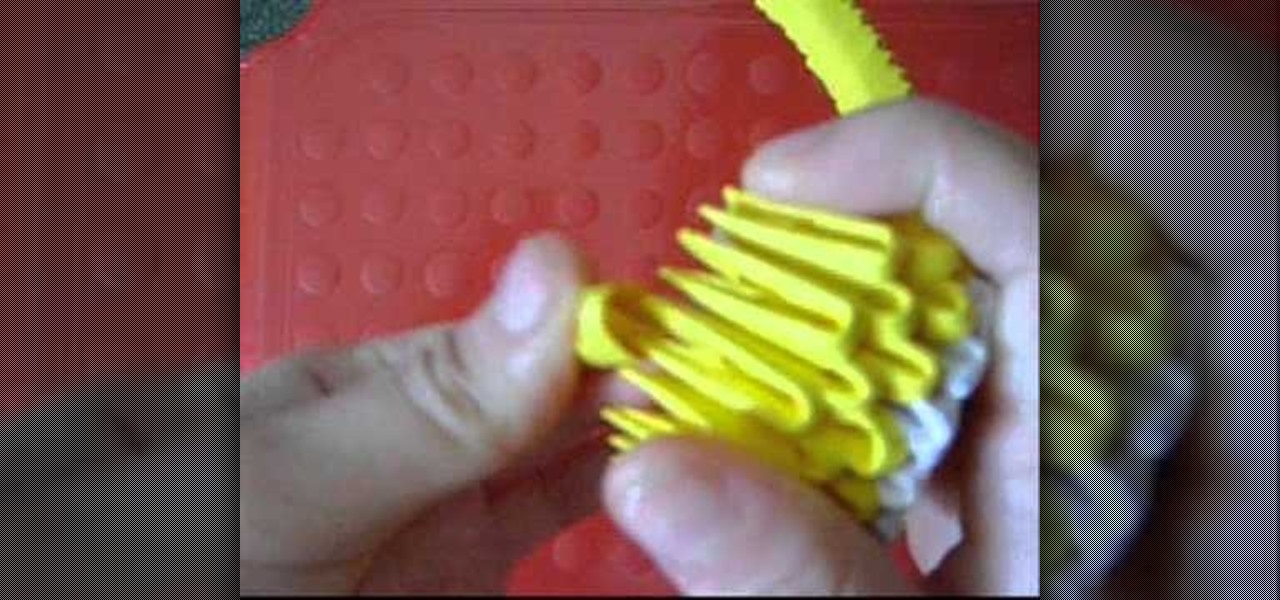
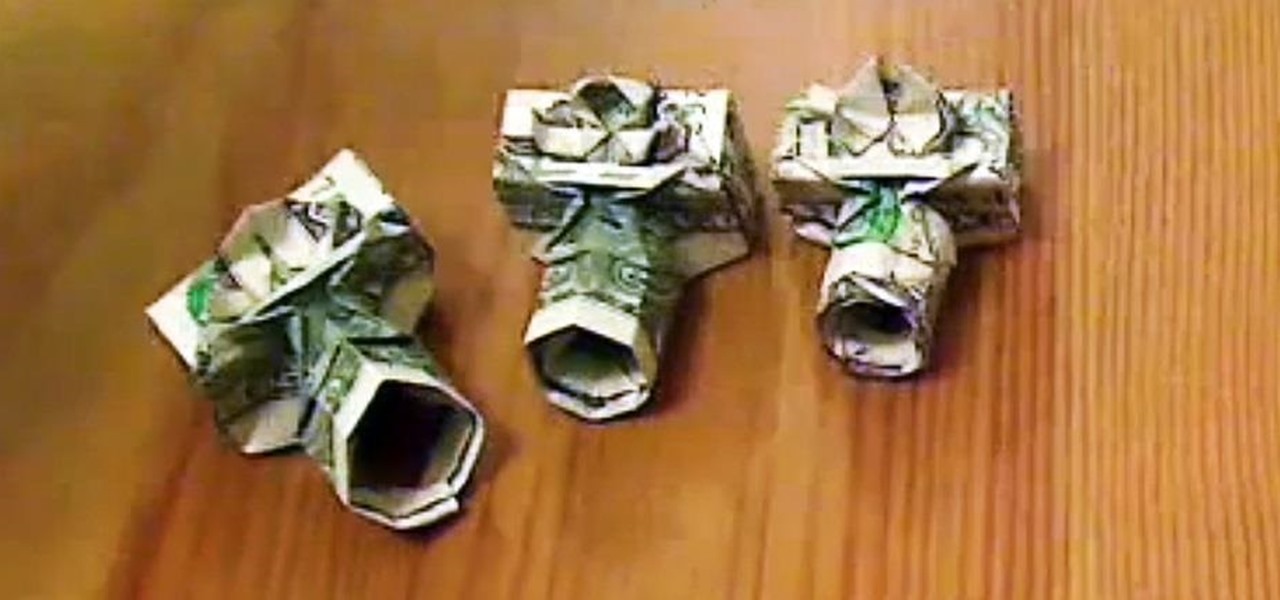
How To: Make a juicy lemon out of 3-D origami
You will need to have mastered the art of folding the triangles and a base before attempting this. If you have, then follow along and learn how to make your own lemon halves out of yellow and white origami paper!
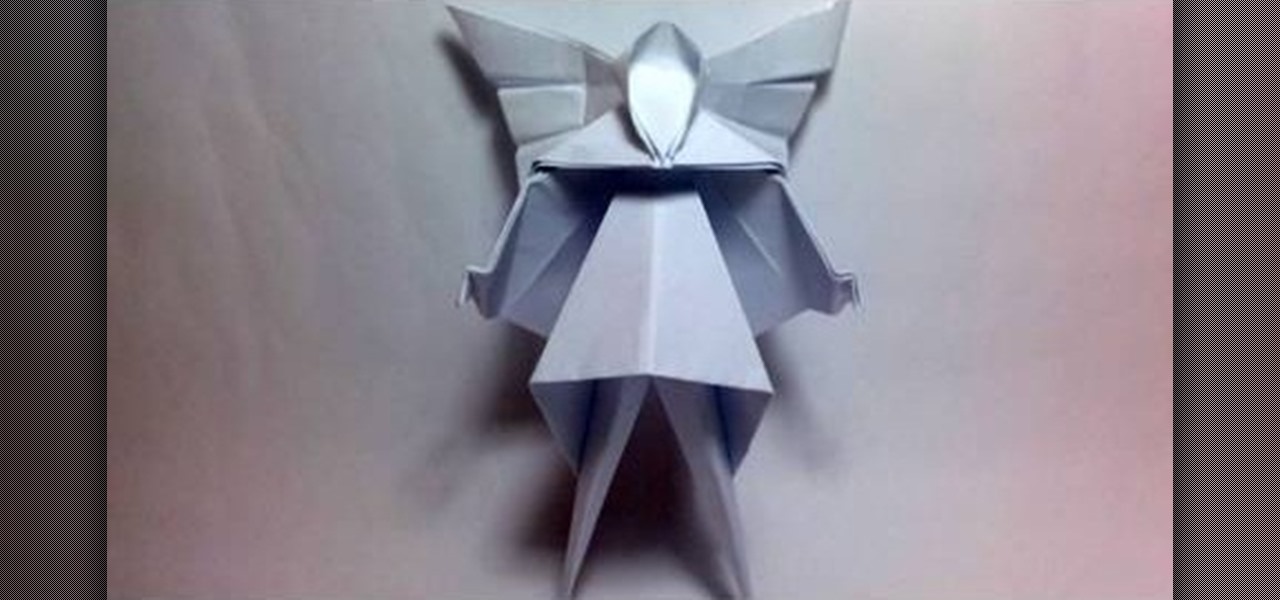
How To: Fold a Christmas tree fairy or angel with origami
Why buy an expensive tree topper when you can fold your own lovely Christmas tree fairy or angel? This also makes a great ornament! Start with a piece of origami paper, 18 cm by 18 cm, and follow the folding instructions in this video.

How To: Make an origami boomerang
Take an A4 SIZED paper. The paper is A4 size and it should be an INSTRUCTION paper. The paper size should be maximum, so that it will fly. Twist the papers into halves. Thus 2 papers are formed using folding. Put the papers horizontally. Fold them into half. So the papers are TWO HALF sized papers. Fold each OF the 2 halves again into 2 FOLDS. So the paper is divided into 1/4 papers. So the paper is divided horizontally 4 times. A line DIVIDES the paper in THE MIDDLE. This is arranged in such...
How To: Make easy and sturdy limbs in 3-D origami
Make sure you have perfected the triangle before moving onto this part of 3-D origami. This tutorial shows you how to make limbs (or any other kind of appendage or protrusion) sturdy and easily for your next 3-D origami project.
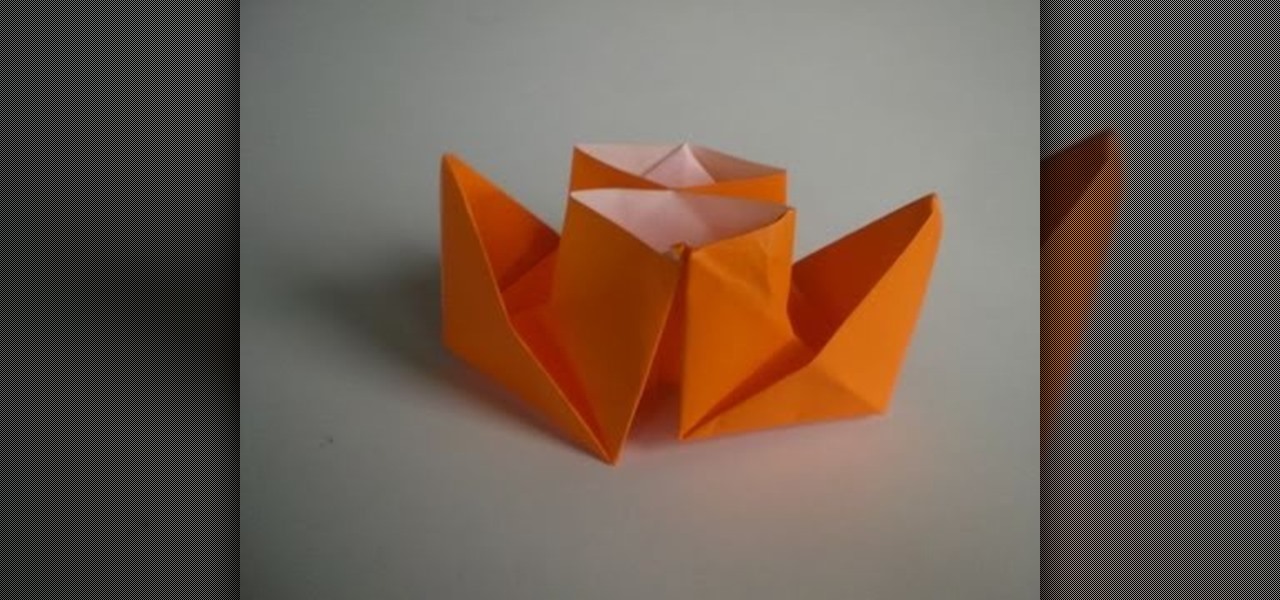
How To: Fold a little paper origami steamer boat
This is a good folding tutorial on a traditional origami steamer boat. To fold this steamer ship, you'll need any square piece of paper with a minimum dimension of 10 x 10 centimeters. It's a simple steamer that anybody could fold.

How To: Fold a five pointed shooting star out of origami paper
Make a wish! I wish... I knew how to fold a falling star out of origami. Well, now your wish is granted! This is an easy and fun tutorial that shows you how to fold a five pointed shooting star from origami paper!

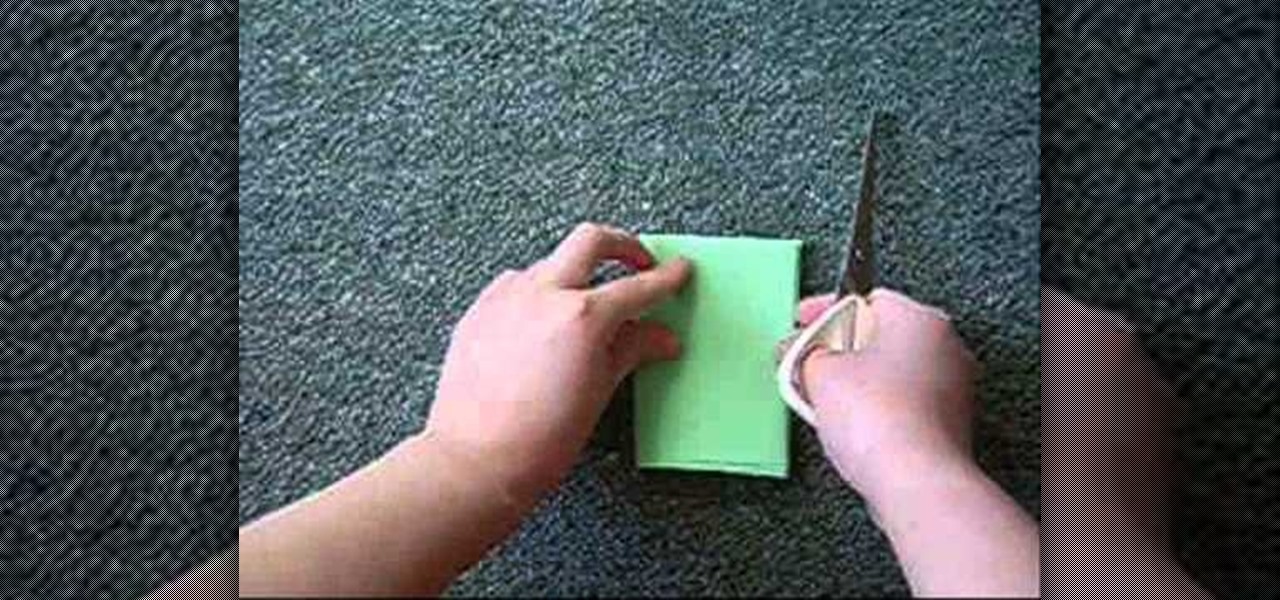
How To: Cut a pentagon from a square piece of paper
Cut a perfectly balanced pentagon from a square piece of paper! You can do this without measuring or drawing. Fold your square of paper as outlined in this tutorial, and then cut along several of the fold lines to end up with a pentagon!

How To: Making a Triangle Box Part I
This video origami tutorial shows how to make a triangular box from one piece of paper. It can hold small gifts and goodies, and can easily be decorated and embellished to suit the purpose. Follow along with the step-by-step instructions in these video origami lessons, and fold an easy gift or storage box. All you'll need is paper, ribbon, a piercing tool, scissors, a brad, a paper clip, and a scoring tool.

How To: Make a boomerang paper airplane
The first step to create a boomerang paper airplane is to take a square piece of paper and measure to make sure it is a perfect square. You must then fold all of the corners of the cut of paper into the middle and then fold in half. The wings must then be folded down on the two chosen side. The final step is to fold the wings up to give the crease and cut of paper it's boomerang like shape. The video ends with examples of the type of flight that can be expected from a boomerang shaped paper a...

How To: Make the fastest paper airplane
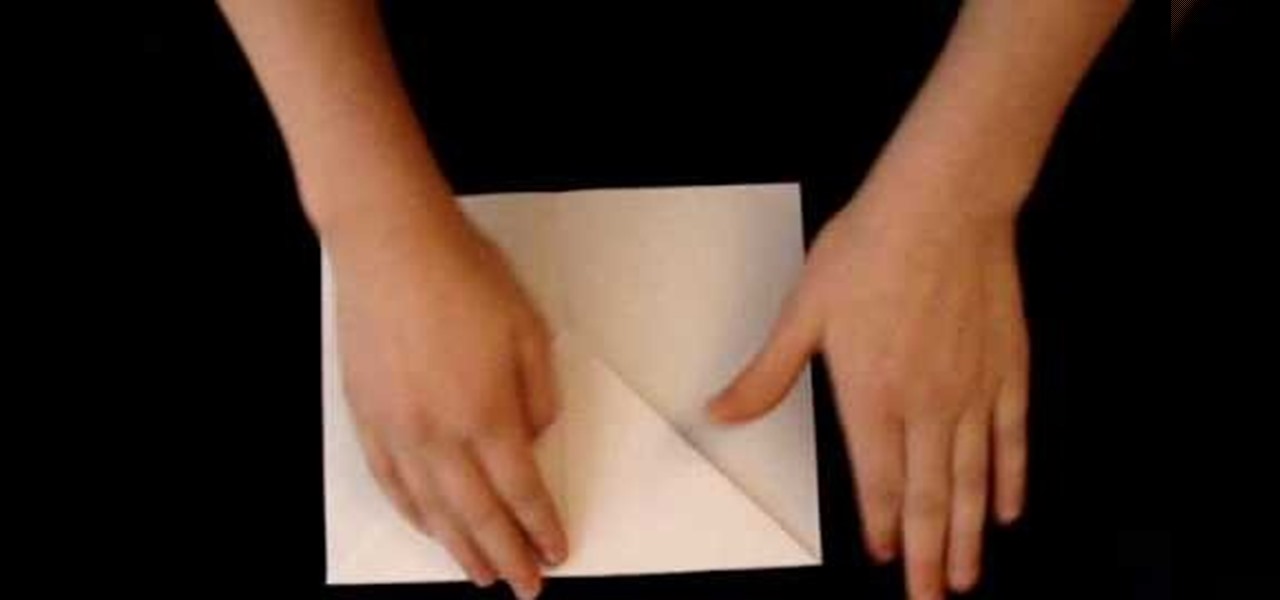
This video explains how to make a paper airplane for effectively. The first step is to fold your basic piece of paper into a triangle shape. After the creases in the paper have been created you must unfold the paper again. The second step is to fold the paper in another triangle shape starting from the opposite corner. After the shape has been formed you must refold the original triangle shape of the adjacent fold. The narrator then makes the plane into a smaller triangle shape by again foldi...

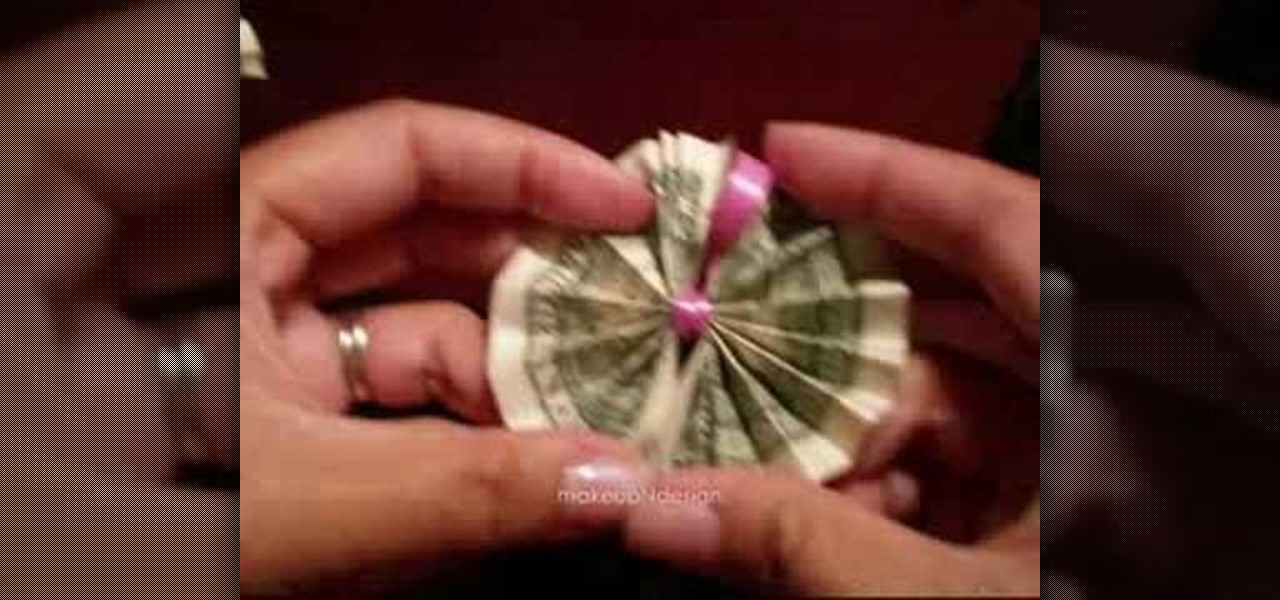
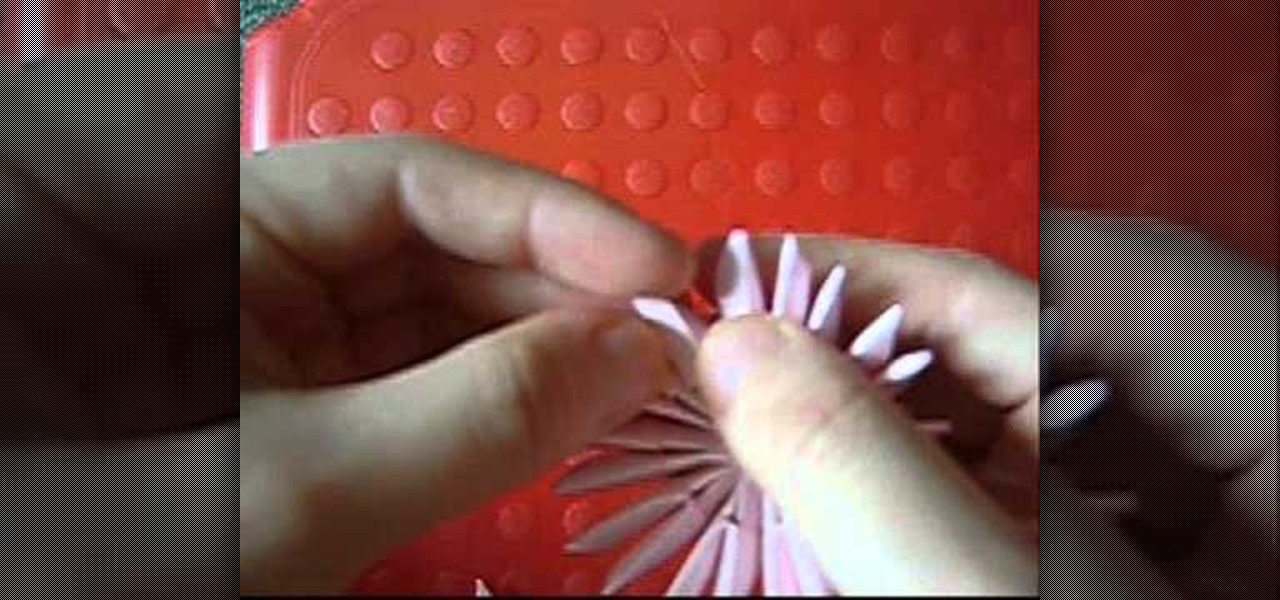
How To: Make paper flowers for fun
This video explains how to make paper flowers in just a few simple steps. The first step to make a paper flower is to take a simple piece of white printer paper and draw any design you find suitable on the blank paper. The next step is to fold the paper over two times to create a smaller square. The second step requires the paper be folded from it's edges into a triangle shape. The last step involved opening the paper from below to give the flower a three dimensional shape. It is shown that m...
How To: Fold a simple origami paper football
You don't need a real football in your hand to have fun. In fact, all you need is a piece of paper, some instructions, and a good imagination to play a rough and tumble game.
How To: Master the art of folding 3-D origami triangles and figures
Love the look of 3-D origami, and looking for a way you can replicate it for yourself? This tutorial shows you how to start with cutting your own rectangles, and then demonstrated how you can fold the interlaced triangles easily.
How To: Fold a transforming eight pointed ninja star out of origami paper
Fold your own eight pointed transforming ninja star! This is a modular origami model, where you will join eight identical modular pieces together to form the star. You can even make this out of Post-It notes, or any square paper!
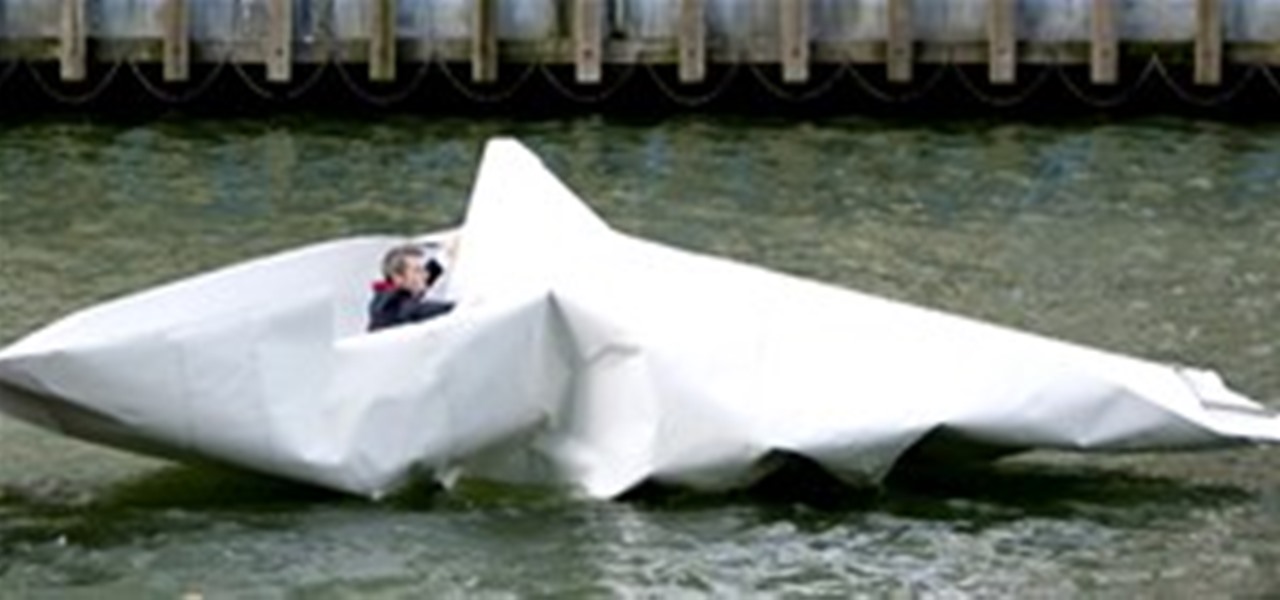
News: Massive Origami Boat Floats Down the Thames
Everybody has some kind of calling in life and it looks like artist Frank Bölter's is the construction of life-sized origami boats. He's done it before, and he's at it again. His latest creation recently set sail on the Thames as a part of London's Drift10 art exhibition.

News: Larger Than Life Origami Boat
Artist Frank Bölter created a life-sized origami boat to sail up the Elbe. The boat cost £110 to construct back in '97 (today's conversion rate would put that at $175). The boat is 30 feet long, and weighs 55 pounds. It took 2 hours to construct, using a 170 square meter sheet of paper.
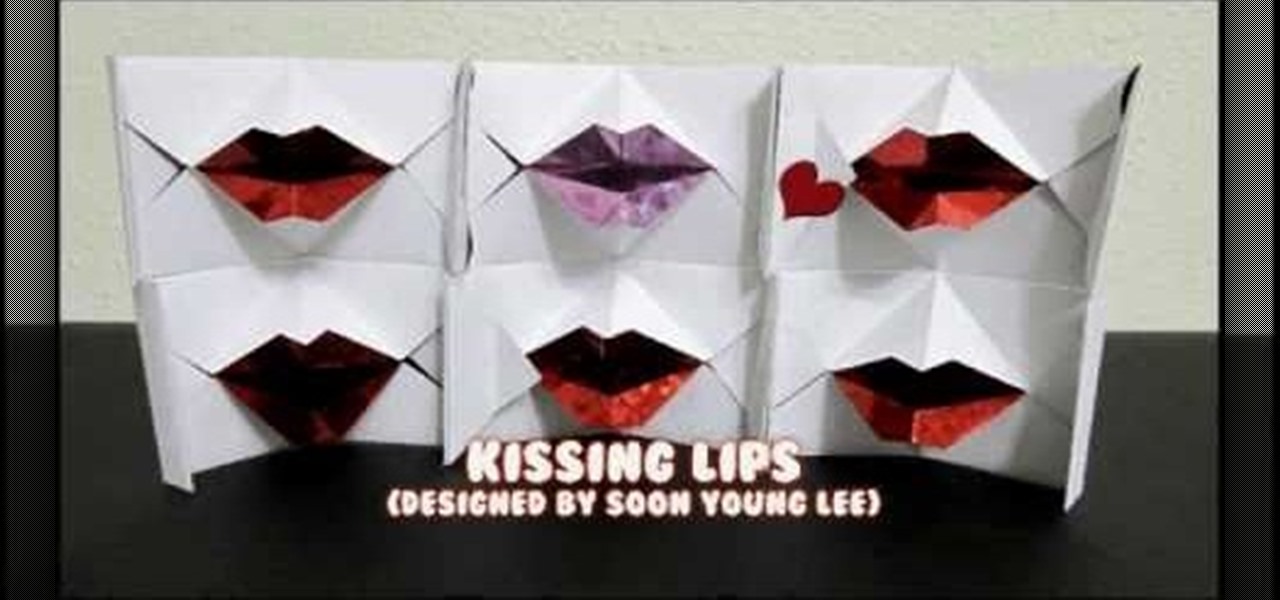
How To: Fold funny origami kissing lips
Kissing lips are probably not the first thing you'd think of folding using the origami method, but trust us, after you've tucked and molded that 1,000th crane you'll be dying for something new.
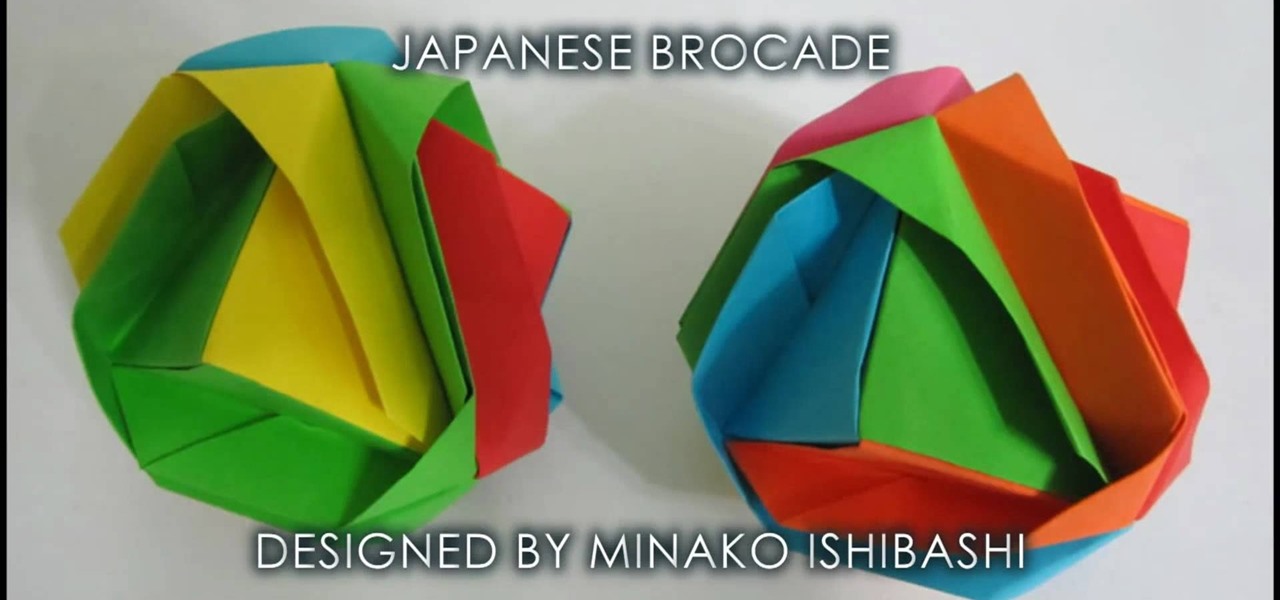
How To: Fold a beautiful origami Japanese brocade
When you hear the word "brocade," you're probably thinking more about richly woven fabric than folded paper. Well, this origami Japanese "brocade" is based on the brocade look - an embossed, studded cloth.
How To: Fold a 3D "Starlight Princess" origami woman
If you've folded more origami cranes and frogs than you can count and you've exercised your fingers to the point that they can do handstands when you're not looking, then you are ready to embark on a truly glorious origami folding mission.
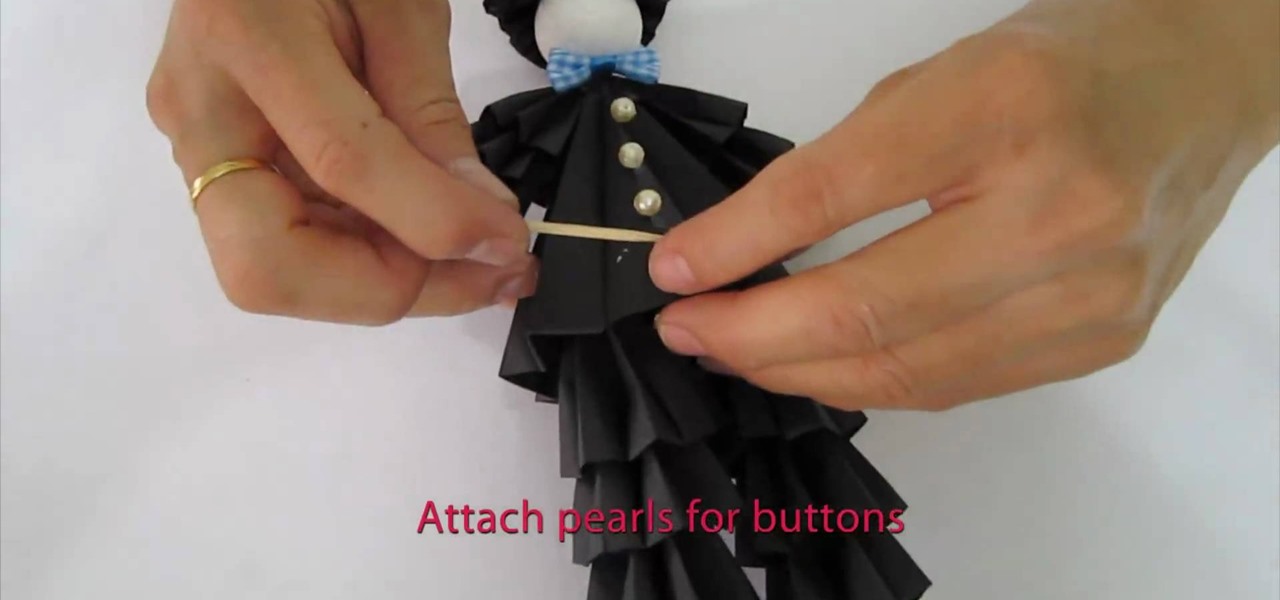
How To: Fold an origami 3D man wearing a tuxedo
Okay, so you can probably tell by the picture of this project alone that it isn't for origami beginners. That being said, if you feel you are a true origami folding, finger aerobatic champion, then check out this video to learn how to fold a complex 3D man wearing a ruffled tuxedo.

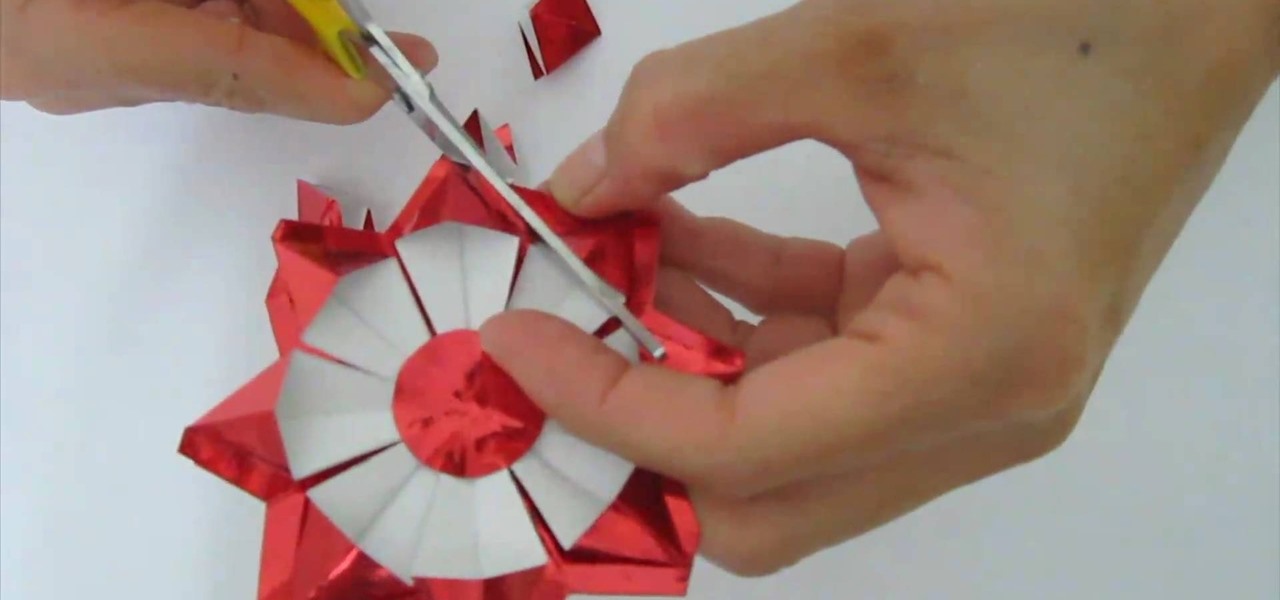
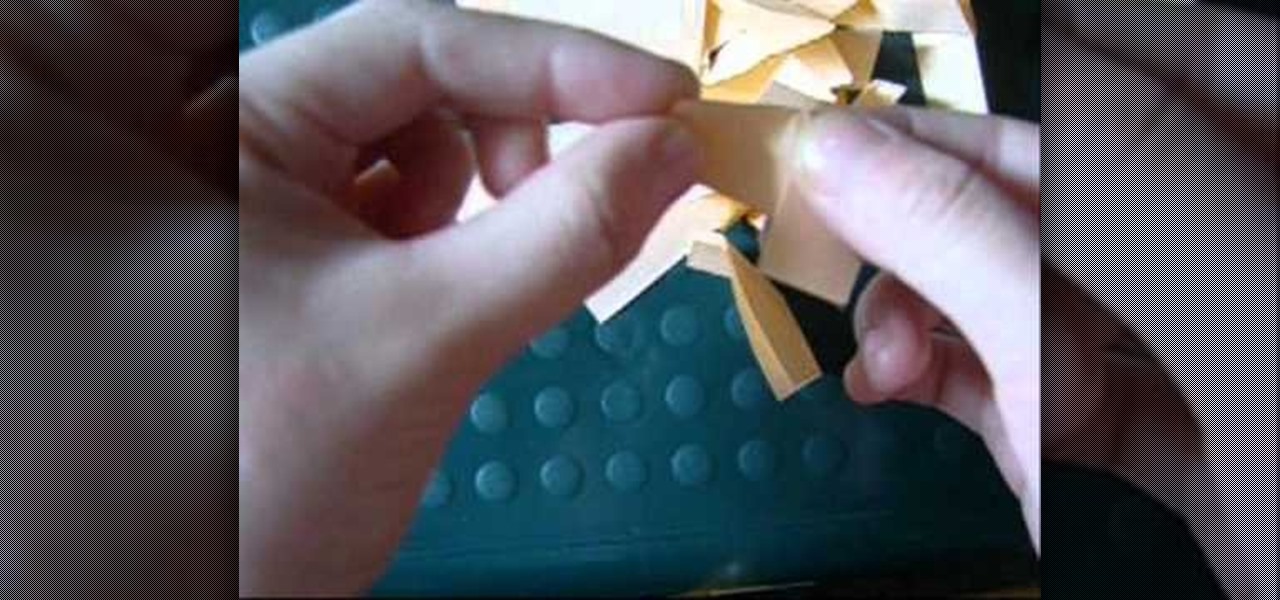
How To: Make an array of paper roses
In this tutorial, we learn how to make an array of paper roses. Use any colors of paper you want with this to add a special touch to them! Now, you will take the pattern or color of your choice and fold it up into a square. after this, fold it into a triangle and then cut the edges of this off. After this, cut the bottom off and open it up, it should be a flower shape with a hole in the center. After this, repeat with several other papers and then cut the flowers up into halves. From here, yo...
How To: Make a tight paper airplane
In this tutorial, we learn how to make a tight paper airplane. First, fold the paper in half horizontally then open it back up. Then, grab the top of the paper and fold each edge into the middle to create a triangle. After this, open it back up and fold triangles down on each of the sides. Continue to fold in the triangle shape in the middle of the paper until you have a large triangle shape. Fold in half again and then push the edges down so you can hold onto the bottom. From here, you can t...

How To: Make a simple paper airplane that flies far
In this video, we learn how to make a simple paper airplane that flies far. First, fold the paper in half and make sure it's perfectly even. From here, unfold the paper and fold the edges into where the crease is. After this, do the same on the other side and make it perfectly even. Then, fold the side over to the middle again and do the same on the other side. Next, make sure the creases are solid and then fold it in half. Now, to make the wings you will fold one side down, putting the tip d...
How To: Create the farthest flying paper airplane
In this video, we learn how to make the farthest flying paper airplane. First, you will lay the paper flat and fold in two sides on the top. Then, fold it in half and keep folding the plane in. After this, you will see the wings become smaller and smaller. Once you fold this up until you cannot fold it in anymore, you will be able to throw this and make it fly! This will be really thin so it will go further and further. This will fly across the room easily and make everyone jealous they don't...
How To: Fold an origami magic rose cube
As the procedure is lengthy and a bit complicated, this is the first in the two part series that explains the method of creating a paper rose cube.
How To: Fold a basic paper airplane
In this tutorial, we learn how to fold a basic paper airplane. First, fold the paper in half and make a crease. Next, unfold it and then line the corners with the middle line you just made on one side of the paper. From here, you will fold the paper down until you reach as long as the crease can go. Next, take the point on the side and fold it an inch over next to the point. Then, repeat this on the other side, touching the other point in the middle. Now, take the tip and fold it over. From h...

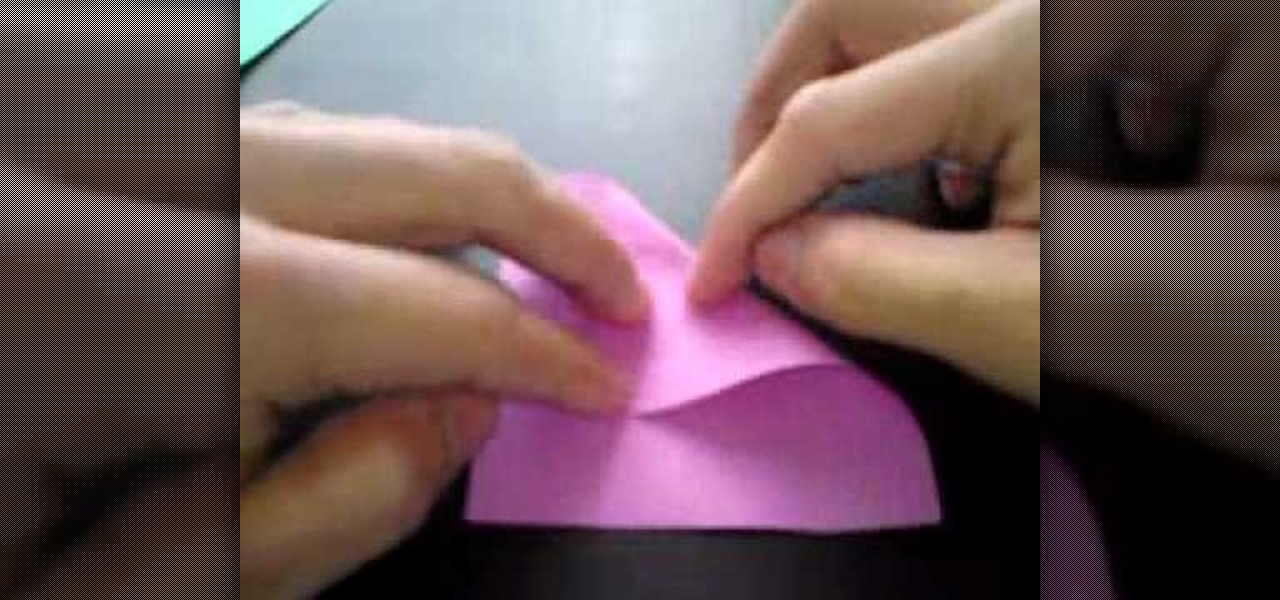
How To: Make a paper flower using napkins
In this tutorial, we learn how to make a paper flower using napkins. First, roll the paper over to one side and then start to roll it up with the other side as well. As you do this, the napkin will start to roll into the shape of a rose. When finished, you will pull out the edges to create different lengths with the petals. After this, use a green napkin to create the stem of the flower, making a small leaf in the stem by ripping it. When finished, continue to make these to create a beautiful...

How To: Make an origami decorated card
In this tutorial, we learn how to make an origami decorated card. First, you will take your card, make sure it's a busy pattern in colors that you like. After this, you will score the top of the card in the middle to create a small square. After this, cut the square out of the card. Then, close it and stick the piece of origami that you have into the inside of the card where the window opens up. Once this is stuck on, you will be able to close the card but still see the origami in the window,...
How To: Fold triangles for 3-D origami projects quickly
Is folding all the little triangles together for your 3-D origami projects really slowing down your project? Here is a quick and easy tutorial that teaches you how to rapidly (and accurately!) fold all the triangles you need for your 3-D origami projects.

How To: Origami the letter "A" Japanese style
These instructional animated slides teach you how to easily fold a the letter "A". Learn how to use the Japanese art of origami to make your own "A". Use the start, stop, forward and back buttons to easily follow along. You can also speed up the instructional origami video if it is going too slow. Very cool Japanese origami how-to video! Origami the letter "A" Japanese style.
How To: Fold 3-D origami into cute little strawberry people
Make your own cute little strawberry people! This three video series shows you how to use 3-D origami techniques to make a boy and a girl who are both in a fun strawberry suit. It's very easy, even a beginner can do it!
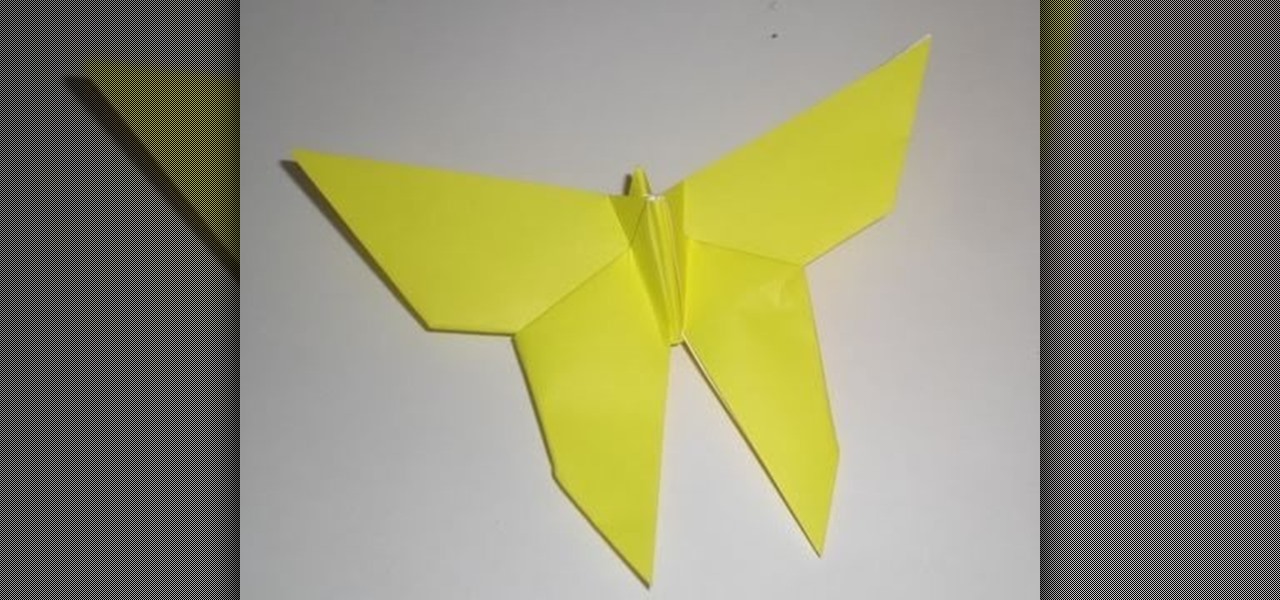
How To: Fold a delicate origami butterfly for beginners
You don't need to be able to create crazy 100-side modular spheres to make beautiful origami projects. In fact, a great portion of the more popular origami projects are on the easier side (good news for sausagefingers like us).
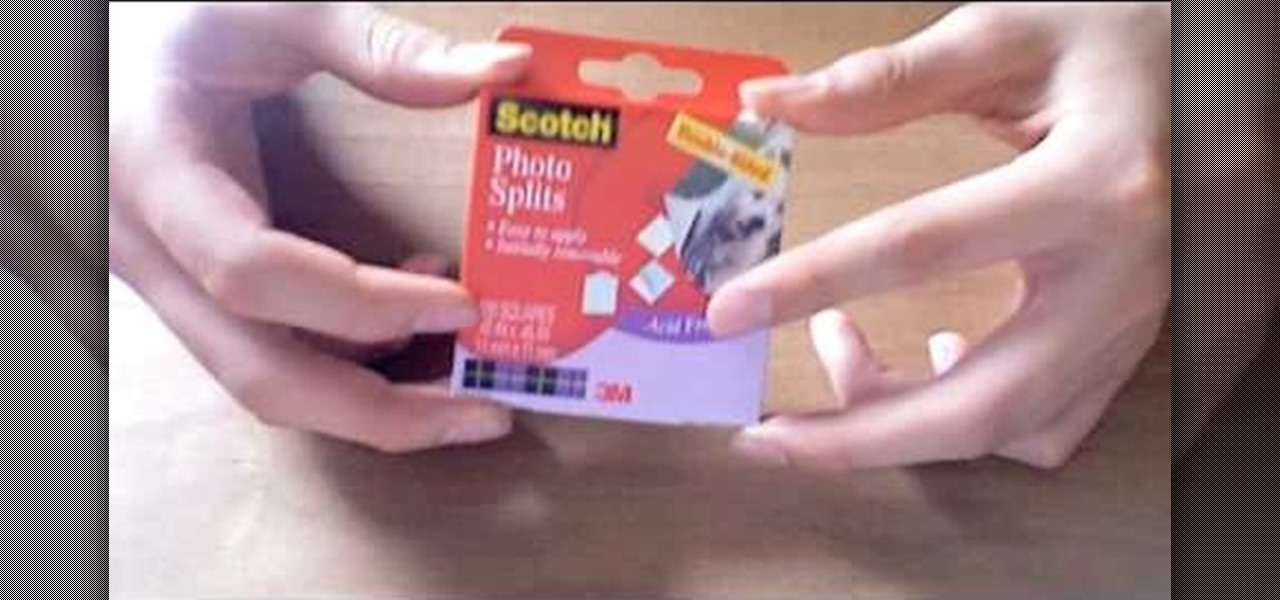
How To: Make a tiny Japanese katana or ninja sword out of paper
Make your own tiny katana out of paper! All you'll need is some durable printer paper or origami paper, double-sided photo album squares, quick drying craft glue, a small craft knife (like an x-acto knife), a straight edge and a cutting mat.
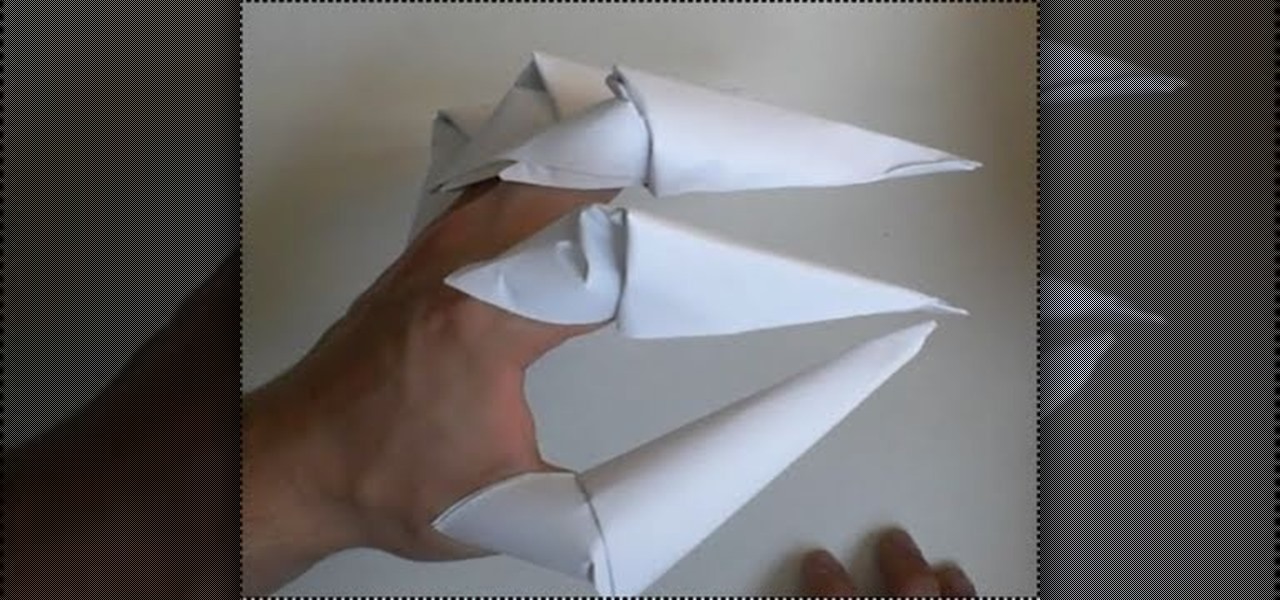
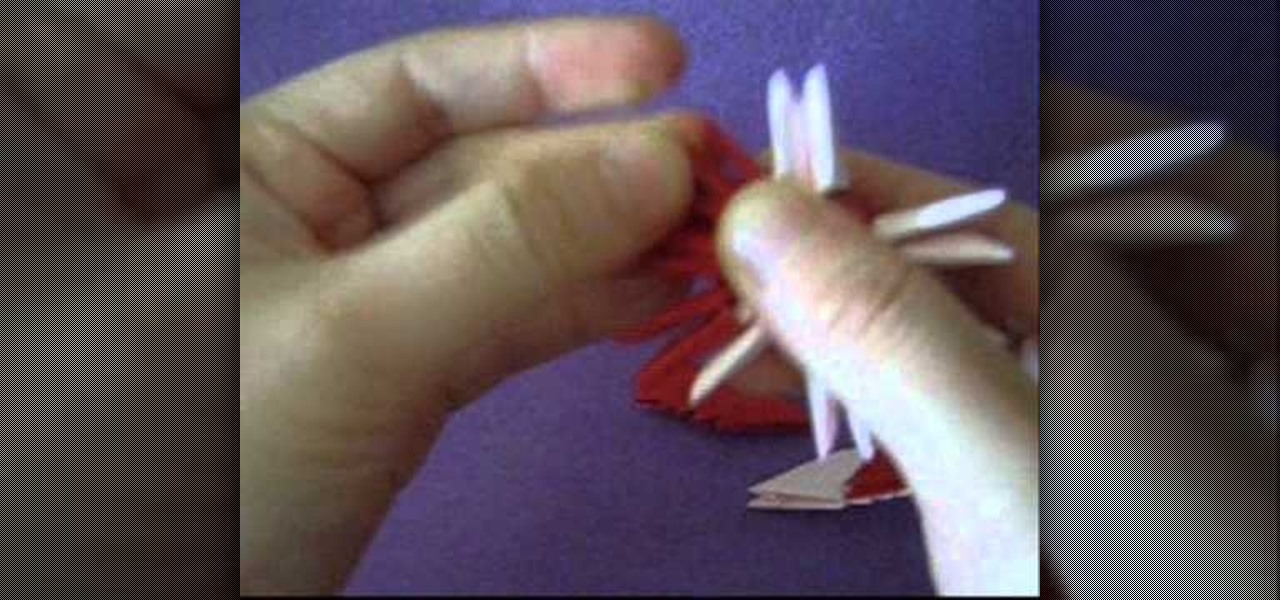
How To: Fold origami Freddy Krueger monster claws for Halloween
Out of ideas for Halloween, or simply don't feel like blowing all your cash on a costume you're only going to wear once? Then take a look at this tutorial for creating origami Freddy Krueger monster claws.
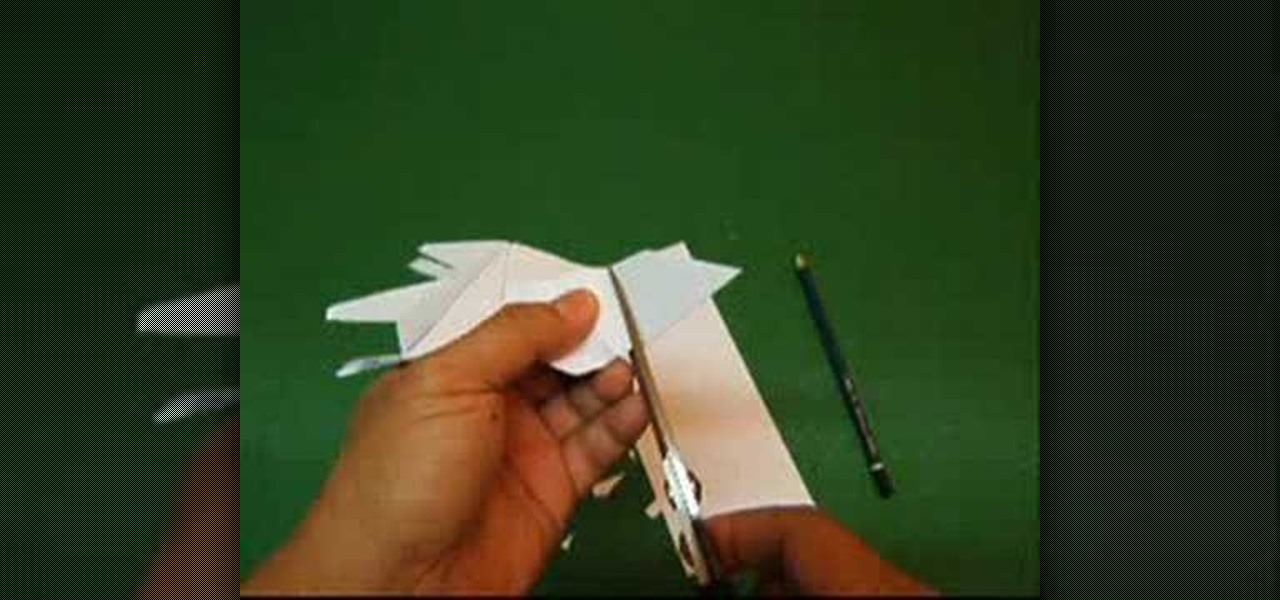
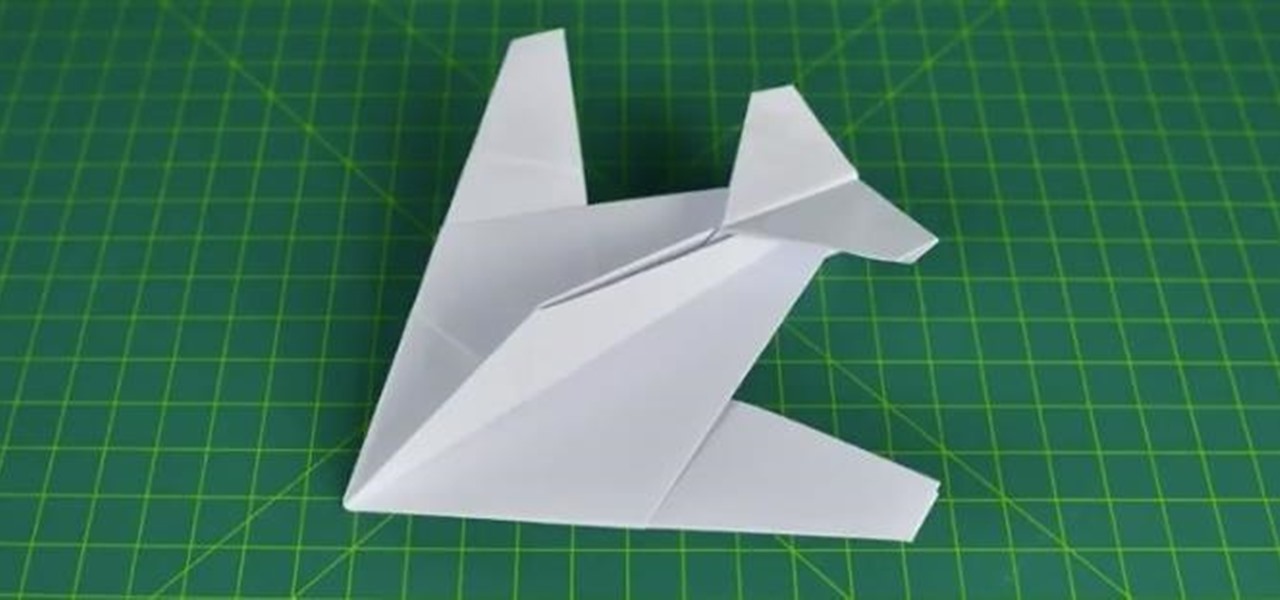
How To: Fold a JKF-168 jetplane paper airplane
This video origami tutorial shows how to fold and snip an advanced paper airplane: the JKF-168 jetplane. Be the envy of all your class or office mates who are stuck folding their standard issue paper airplanes. Learn how to craft the JKF-168 jetplane paper airplane by watching this instructional video.
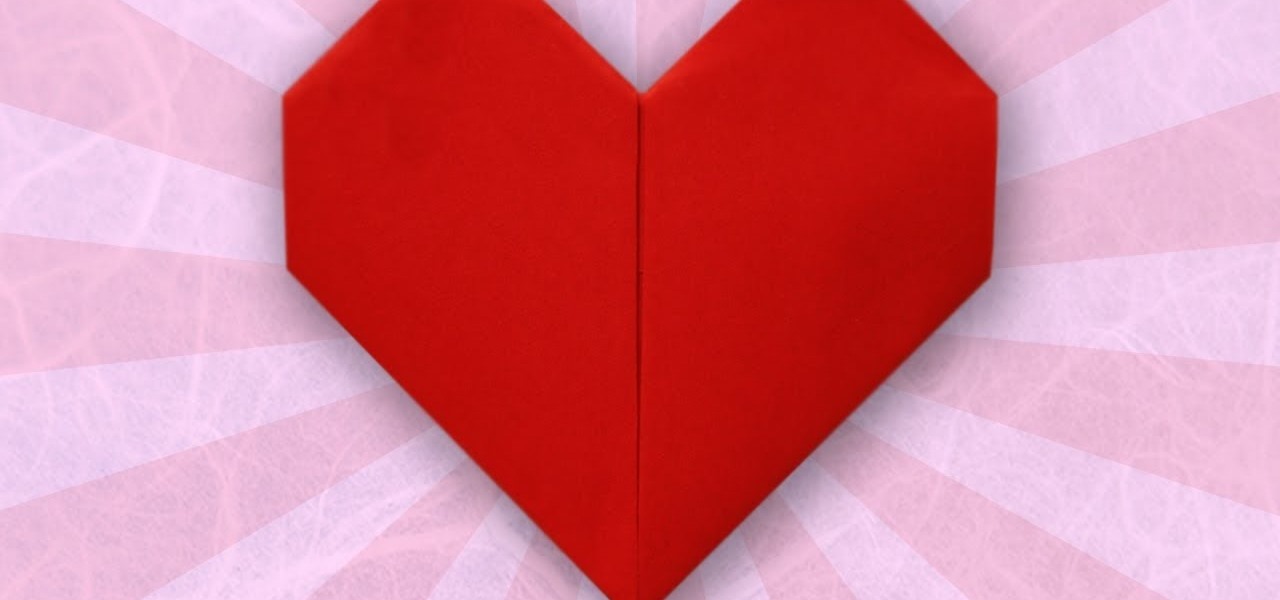
How To: Origami a heart
This video demonstrates how to fold an origami heart. If you are a beginner, this is the video for you! This is a very simple model, and I thought it would be perfect for Valentine's Day! Even though this model is very simple, it has a very nice outcome when complete!
How To: Fold a transforming shuriken ninja star
Hi, welcome to this origami video! This origami video is a great tutorial on how to make a transforming shuriken(ninja disk).

How To: Make a fun and spooky origami witch for Halloween
Who said that you couldn't have a trick and a treat at the same time for Halloween? When you first take a look at this project, you just see a folded and pleated piece of paper. But upon closer inspection, you'll find that this is no ordinary piece of paper but an evil green witch complete with pointy hat and crooked nose.

How To: Fold an origami bird parent and child
This is a video tutorial in the Arts & Crafts category where you are going to learn how to fold an origami bird parent and child. Take a sheet of square paper and fold it in half diagonally. Then fold it again. Now open up the top half and fold it back over itself. Repeat this with the other half as well. Now you have folded square sheet of paper. Then lift up the corner and fold it back over itself. Repeat this step with one corner from the side. You have to watch the video for further steps...