

Everything Else


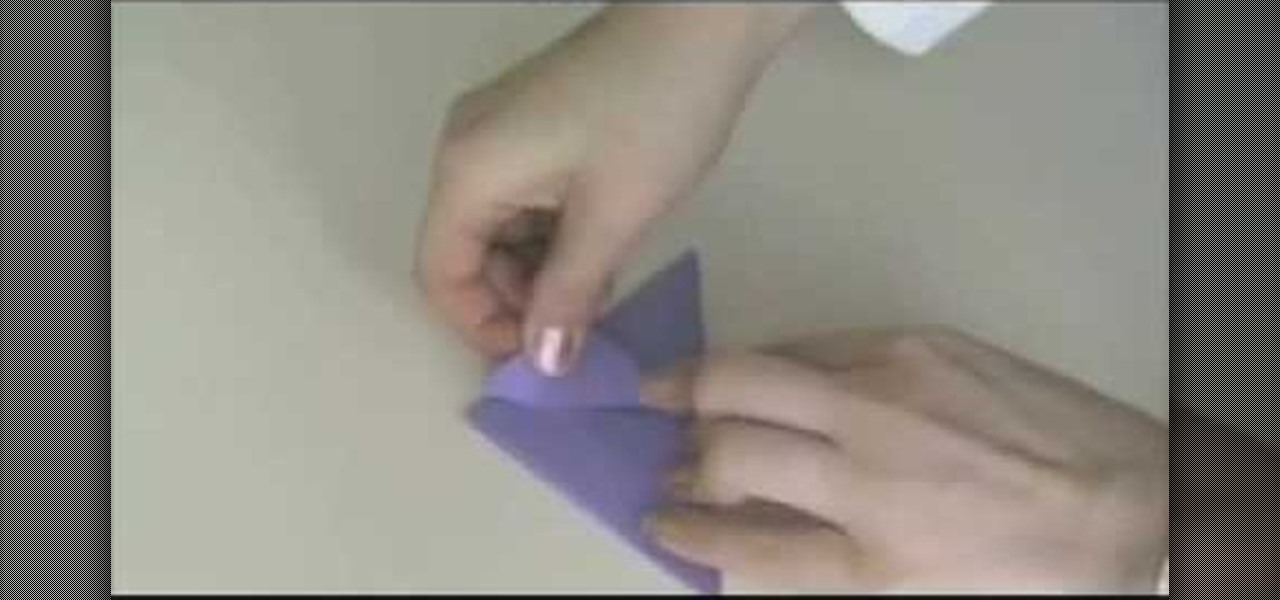
How To: Fold an origami streaked, zig zagging snake
Real snakes give us the heebie jeebies. With their slippery skin, scales, and overall slimy quality, they top our list of most feared animals. But we sure love 'em when they come in a cute paper form!
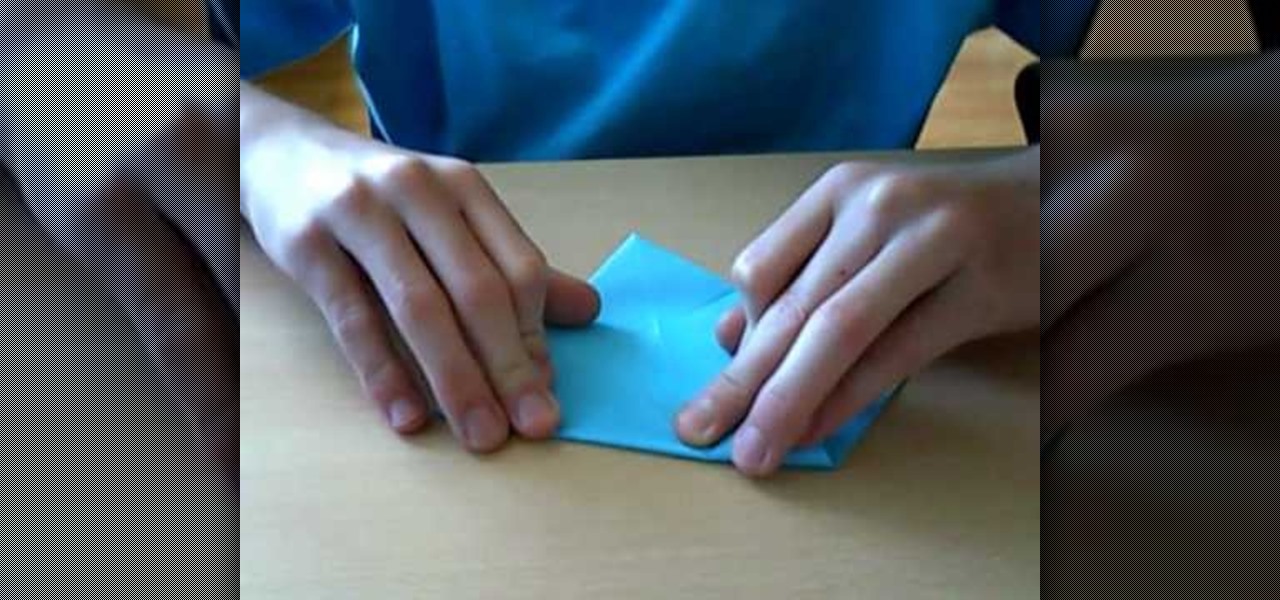
How To: Fold a beautiful blue origami sun
If you've ever taken astronomy before, then you know that the brightest flames - and the brightest stars - burn blue. So if you'r still making your origami stars blue, it's time to think outside the box.
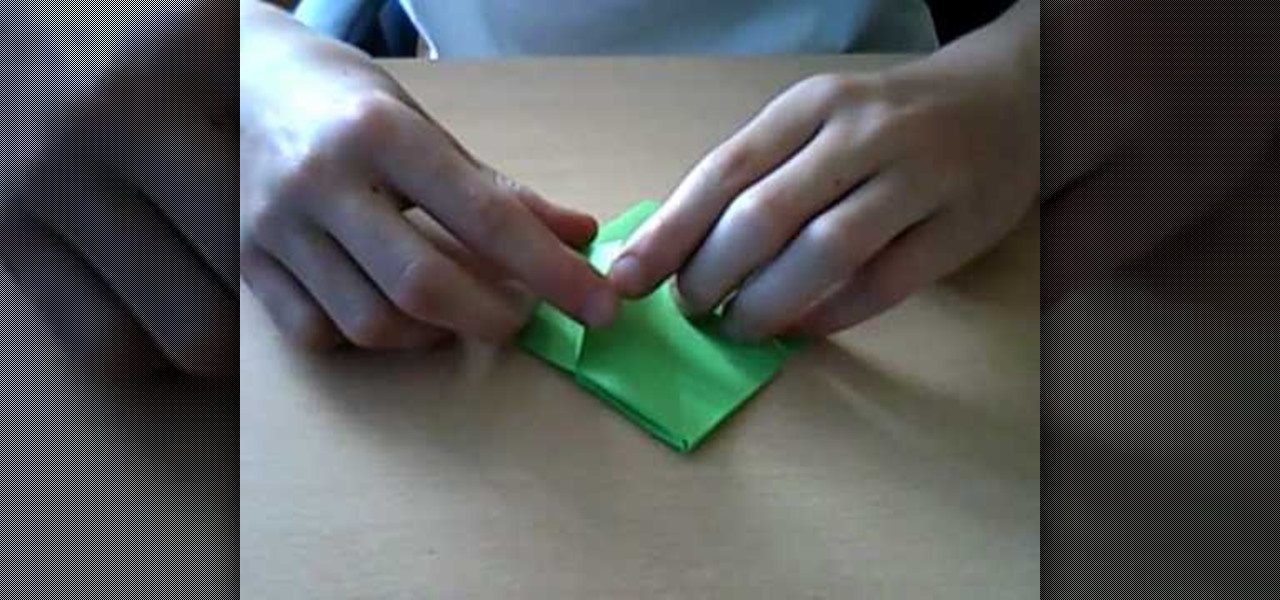
How To: Fold a cute origami fish that kisses
What a lovely present for your sweetheart on Valentine's Day. What better way to show your loved one that you can't get enough of him/her than by making this cute origami kissing fish?
How To: Fold a standing abstract origami man
Origami art is in and of itself an abstract art form. Instead of realistic depictions of bunnies and trees and cars you have geometric interperatations of them, which means they're highly angular and schematized.
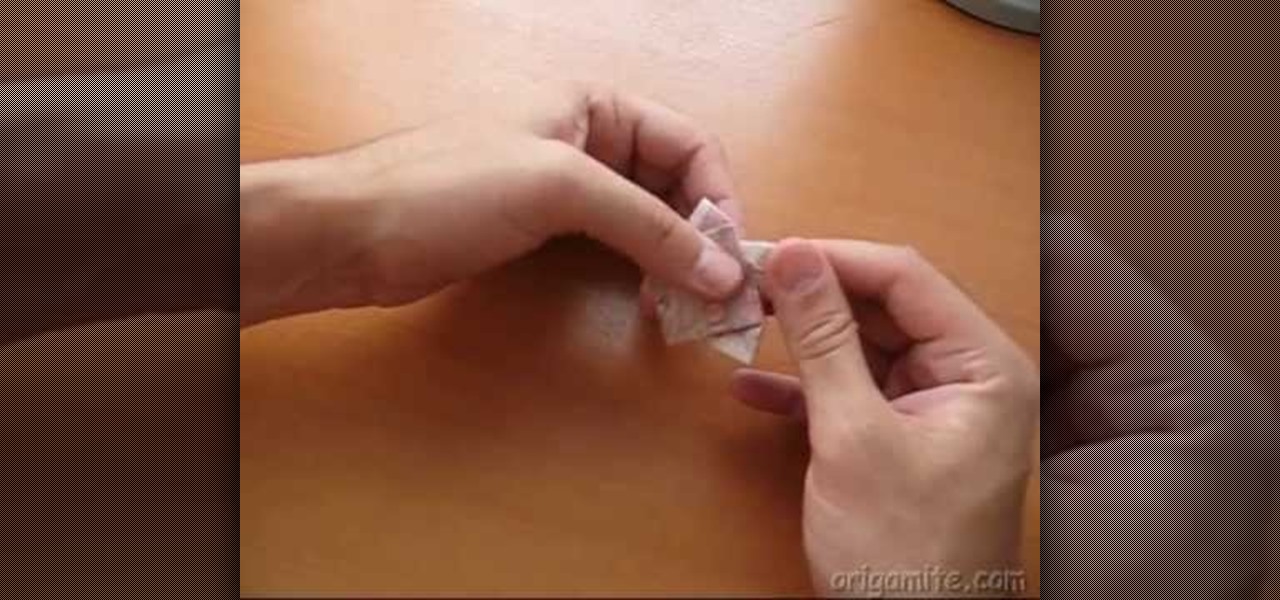
How To: Fold an origami man in a hood firing a kamehameha wave
This is quite possibly the most awesome origami project we've ever seen, and trust us, we've seen A LOT of origami tutorials.

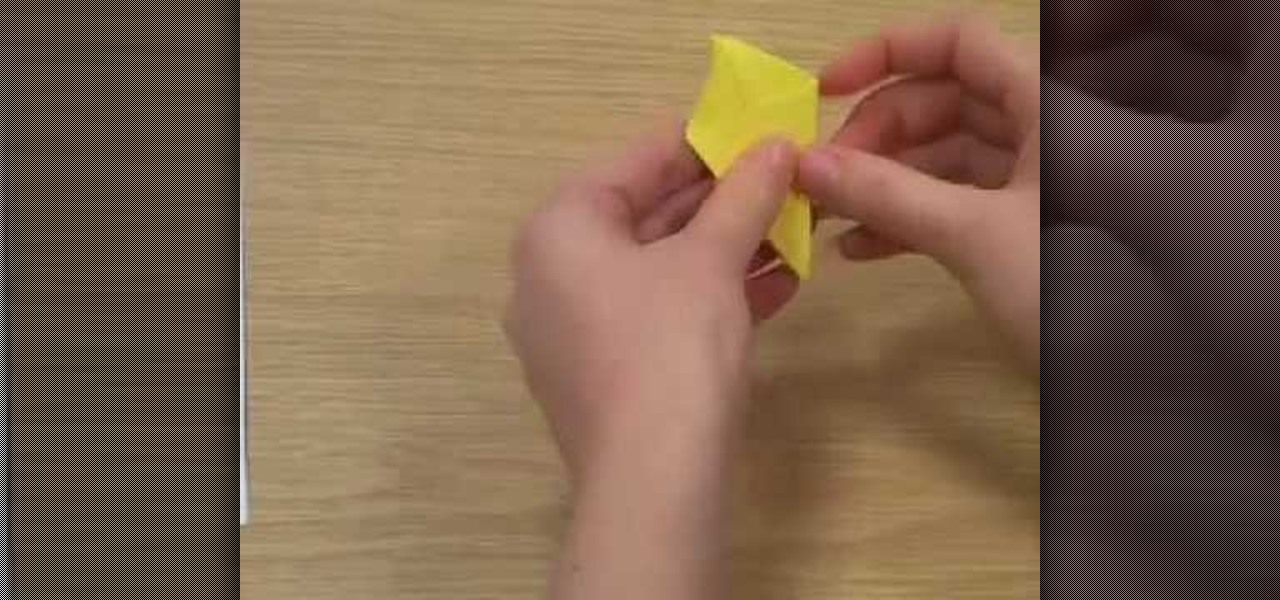
How To: Fold an easy origami leek vegetable for beginners
You may not enjoy eating leeks because you think they're icky vegetables, but you'll certainly enjoy folding them! Check out this origami folding tutorial to learn how to make a leek out of paper.

How To: Fold a simple origami pajarita (baby parrot)
A pajarita is Spanish for a baby parrot. And while you may not be lucky enough to own one, you can certainly fold one!
How To: Fold a simple open top Japanese origami gift box
With Christmas just around the corner, it's prime time to start thinking about what gifts you're going to get, as well as how to wrap them. Even a fancy schmancy iPad isn't going to look all that appealing if haphazardly wrapped in 5-year-old Rudolph wrapping paper, right?
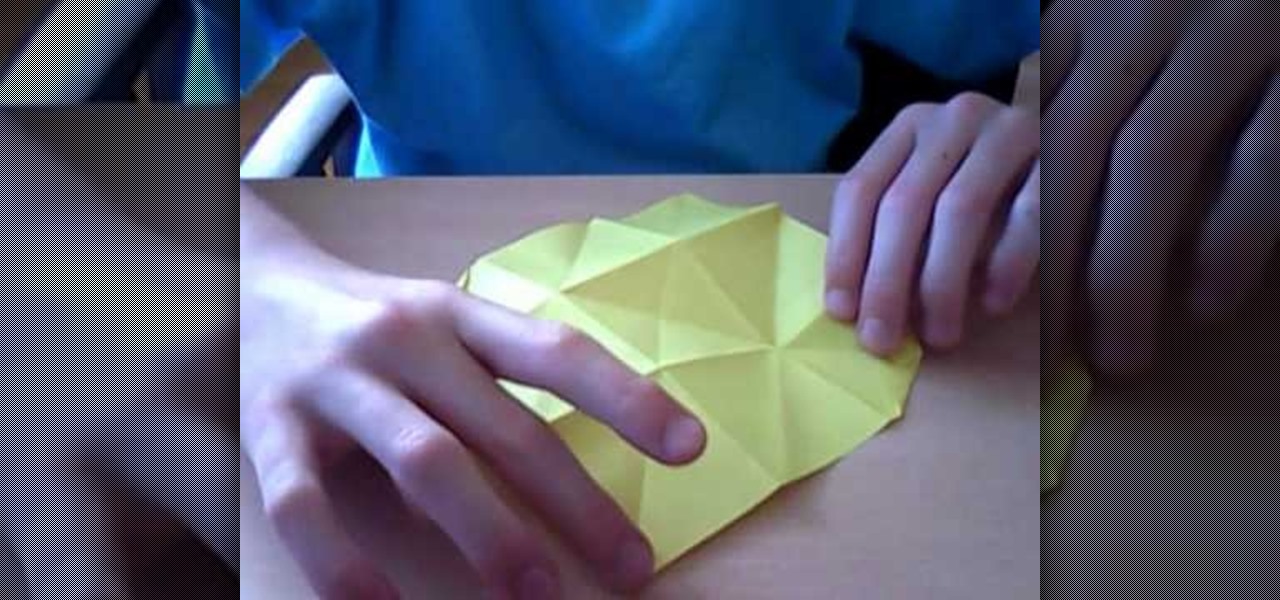
How To: Fold a gigantic origami stellated dodecahedron for Christmas
You're probably wondering what the hell a "stellated dodecahedron" is. Well, in short, a stellated dodecahedron is just fancy jargon for a 12-sided star.
How To: Fold an origami pteranodon dinosaur
Love dinosaurs, or have kids who think they're just about the coolest things ever? Then revel in your dino fever on a lazy afternoon when you're snowed in by folding this origami pteranodon, which was an ancient flying dinosaur.
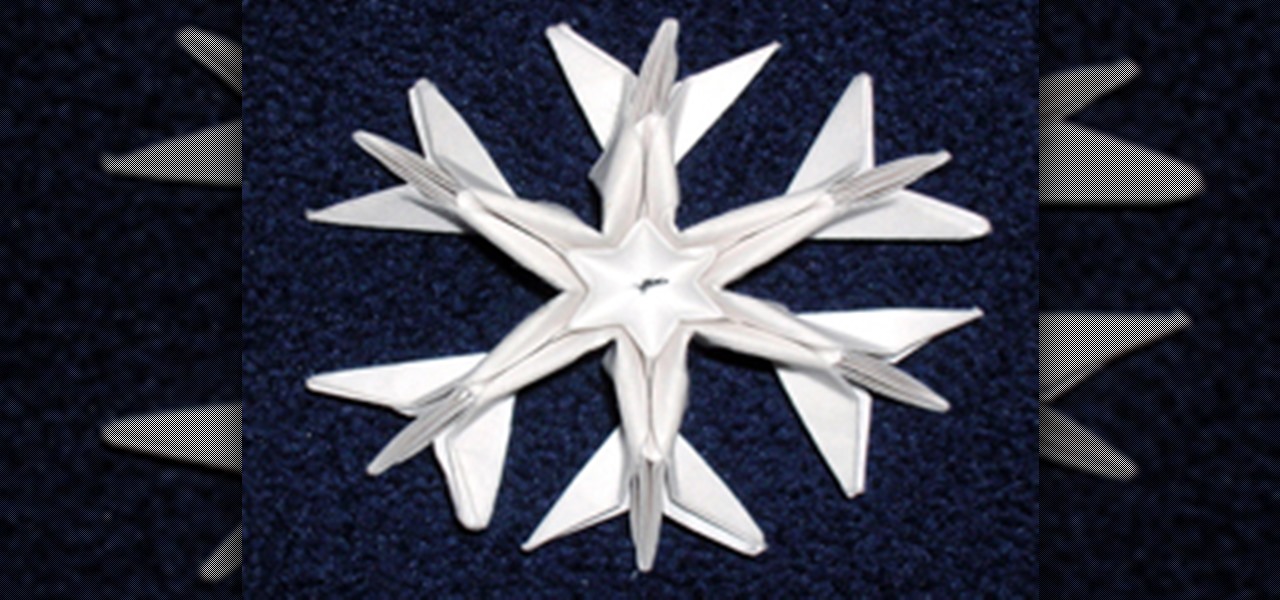
How To: Fold Origami Christmas Decorations - Ornate Winter Snowflakes
Christmas decorations aren't cheap. From outdoor lighting to fir trees, decorating for the holidays can break the bank. That's where ingenuity comes into play, like hacking battery-operated Christmas lights, modifying lighting patterns and building Christmas tree ornaments from LEGOs. But there's even a simpler solution to cheaper Christmas decorations— origami.
How To: Craft a pretty origami butterfly mobile
Origami butterflies are truly beautiful, but what exactly do you do with them once you've made them? While individually they look pretty on your desk, once you have several they become more of a clutter inducer and dust collector than a piece of art.

How To: Fold a simple origami lampshade fairy light cover
You know those pretty twinkle light covers you can buy at Urban Outfitters or Home Goods? You can actually make them cheaply - i.e., with almost no money involved - at home.
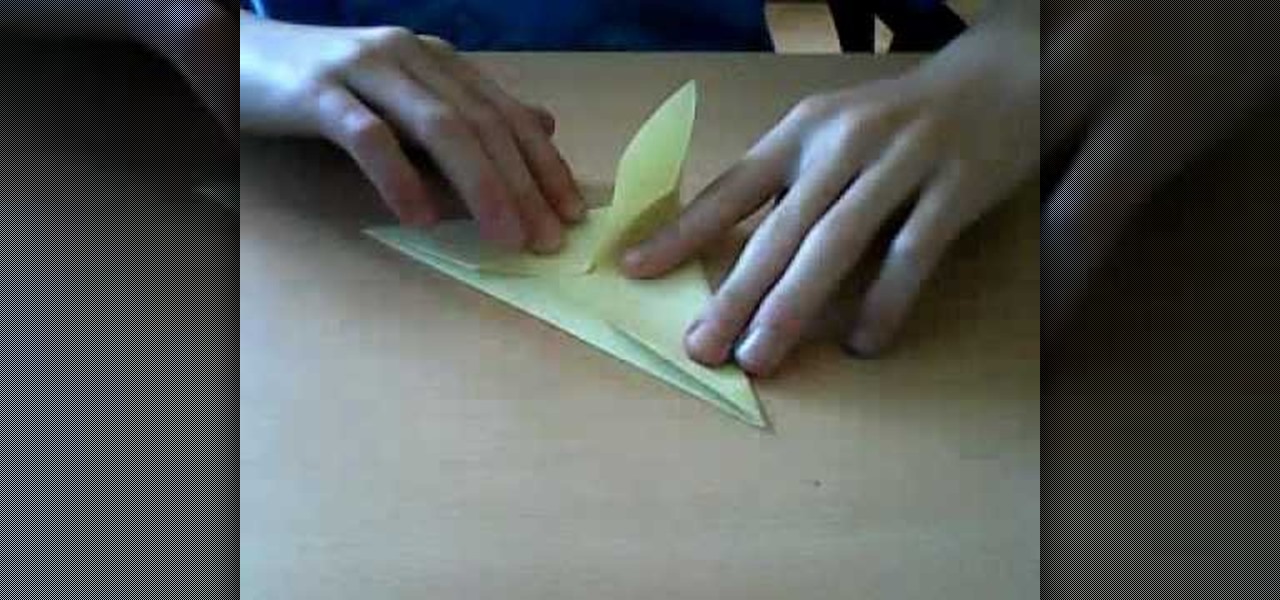
How To: Fold an intermediate vibrant origami lily
Given that Christmas is just two weeks away, you're sure to have a lot of time on your hands once your holiday break begins. Instead of twiddling your thumbs through two weeks of utter boredom, why not be a little productive instead?

How To: Make a woven origami star for Christmas
The treetop isn't the only place where you should place a Christmas star. Make your entire Christmas tree shine bright this holiday season by crafting this dual-colored woven origami star.

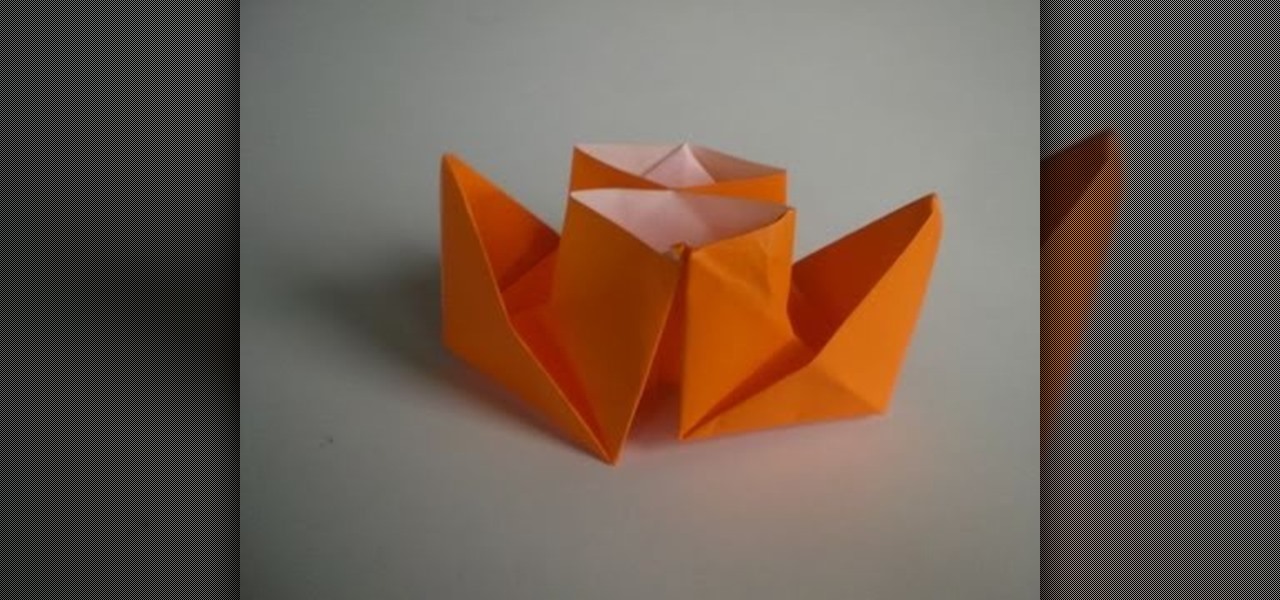
How To: Fold a car shaped box out of origami paper
This makes a great gift box for your father or brother. You don't have to spend extra money on expensive wrapping paper - a few sheets of construction paper are all you need to craft this creative yellow car box.

How To: Fold a dazzling origami martini glass for the New Year
Your New Year's party guests will swear these are the real thing and perhaps even pick one up to pour some Chardonnay in if you're not careful! This origami tutorial shows you how to fold realistic - and damn cute - martini glasses.
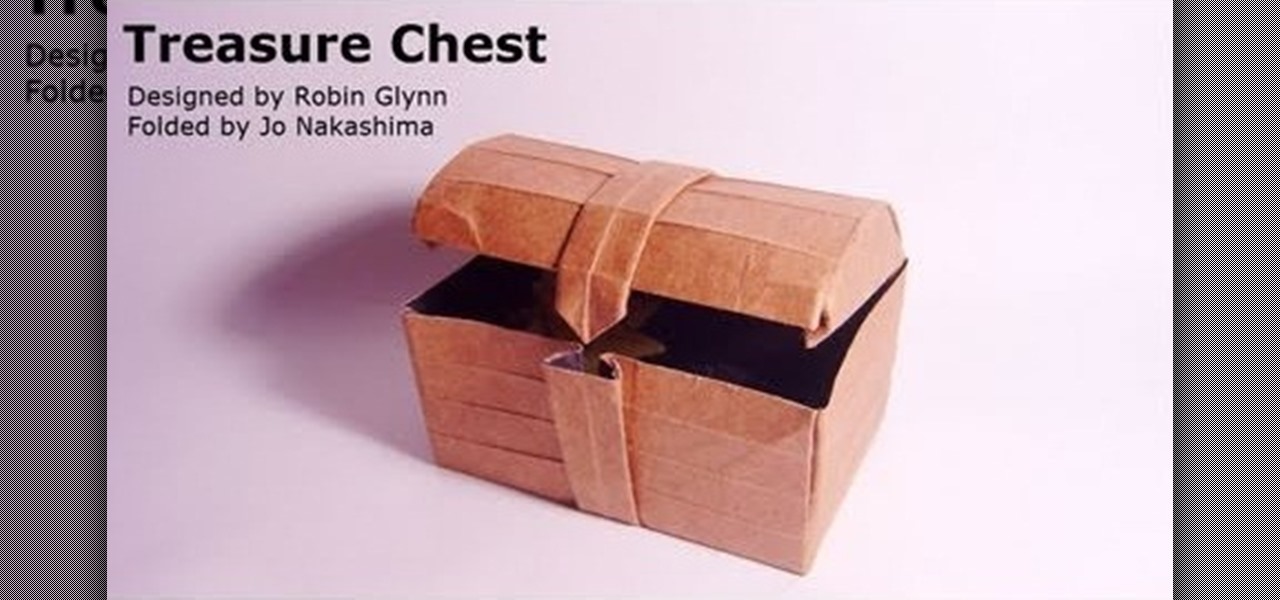
How To: Fold a fun origami treasure chest
Hone your origami folding skills - as well as craft a pirate-chic treasure chest that can actually store your precious plunder - by checking out this origami video. Your finger dexterity will be challenged by the curved fold, an advanced origami fold that leaves the leagues of angular folds behind in the dust.
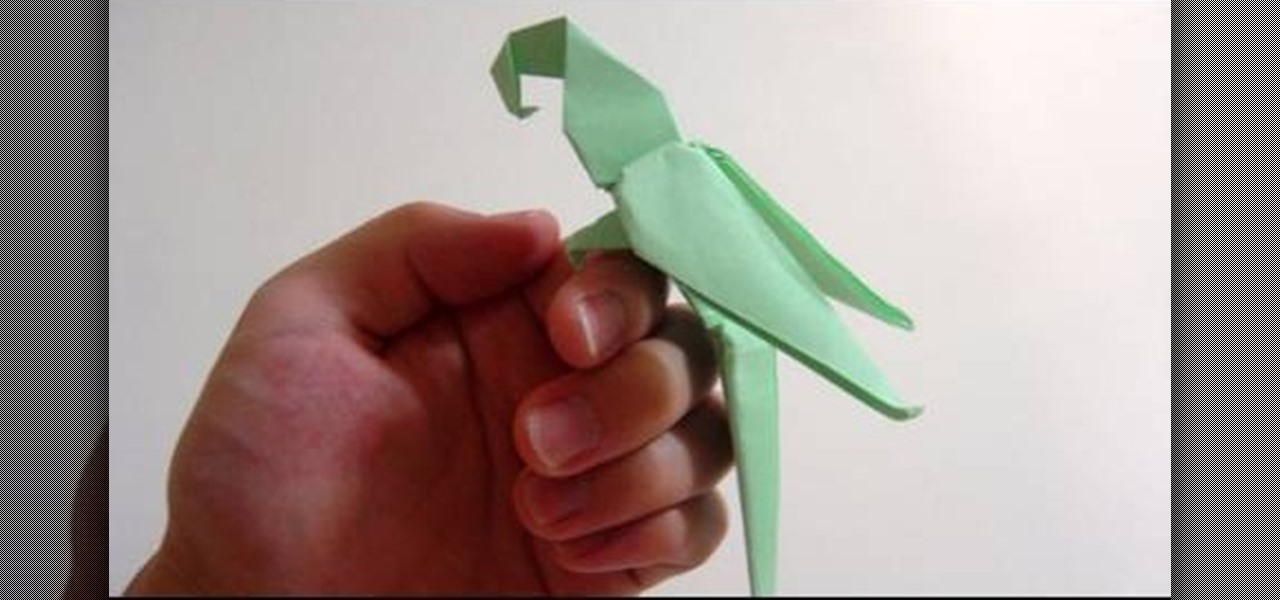
How To: Fold an advanced origami macaw parrot
If you're like us, you always begged your parents to let you get a parrot (What? They make you look like a pirate when perched on your shoulder), but they never consented because of the noise factor.
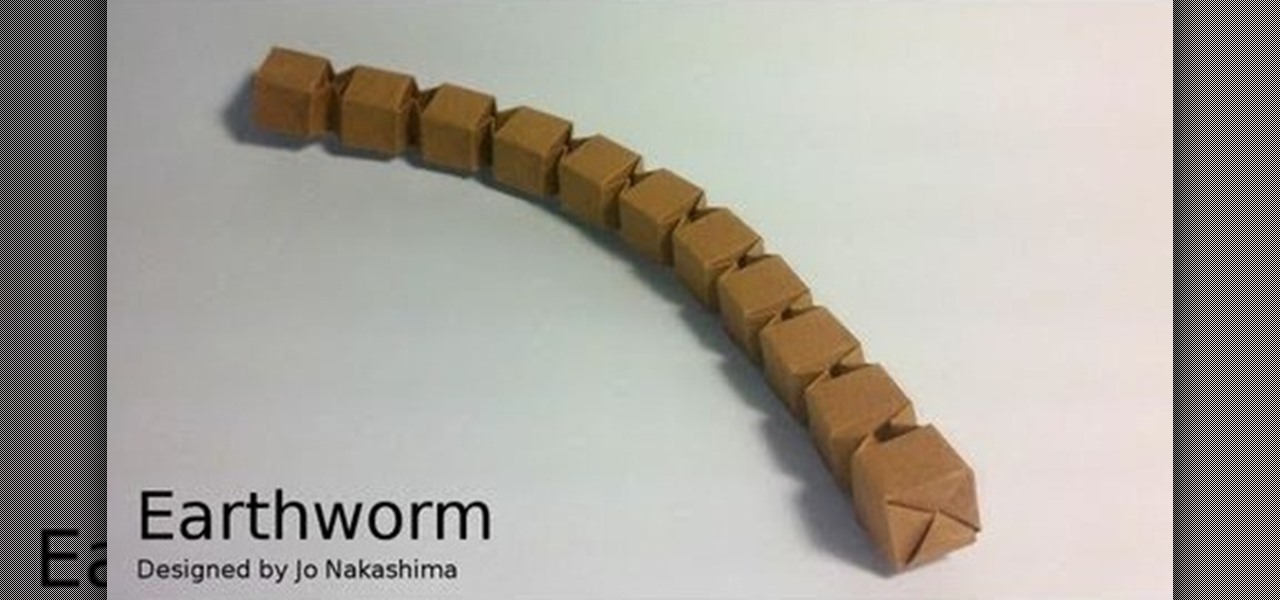
How To: Fold an icky origami earthworm
And you thought real earthworms were scary. This origami earthworm, which has segments that can bend and twist, is just as if not more icky than their living and breathing cousins.

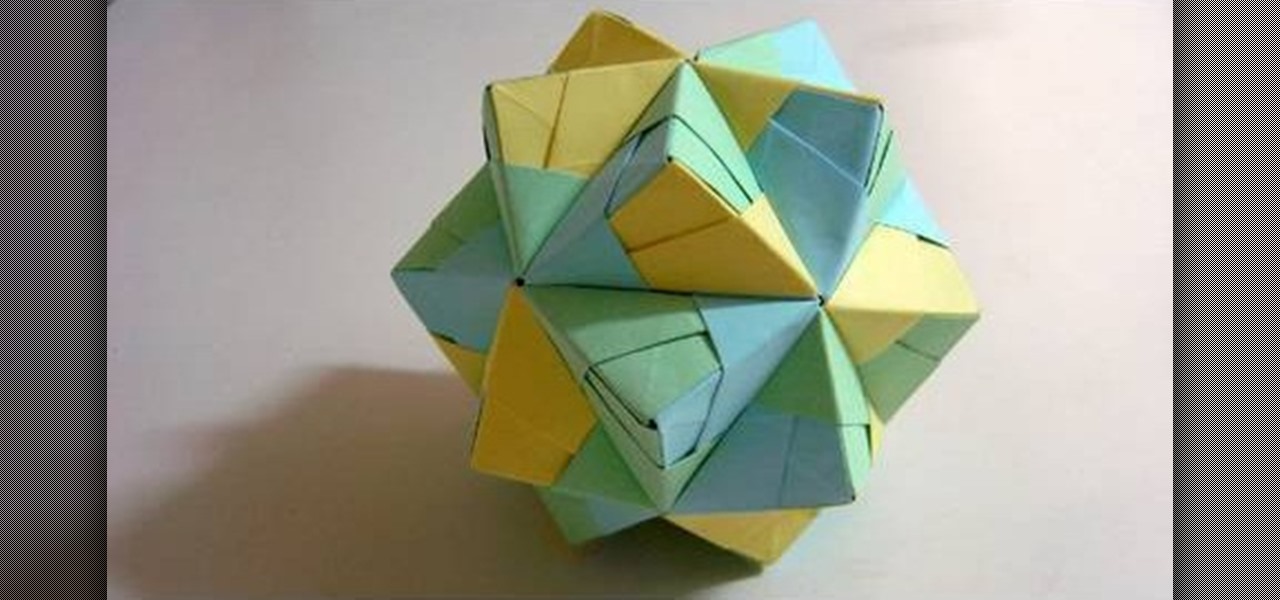
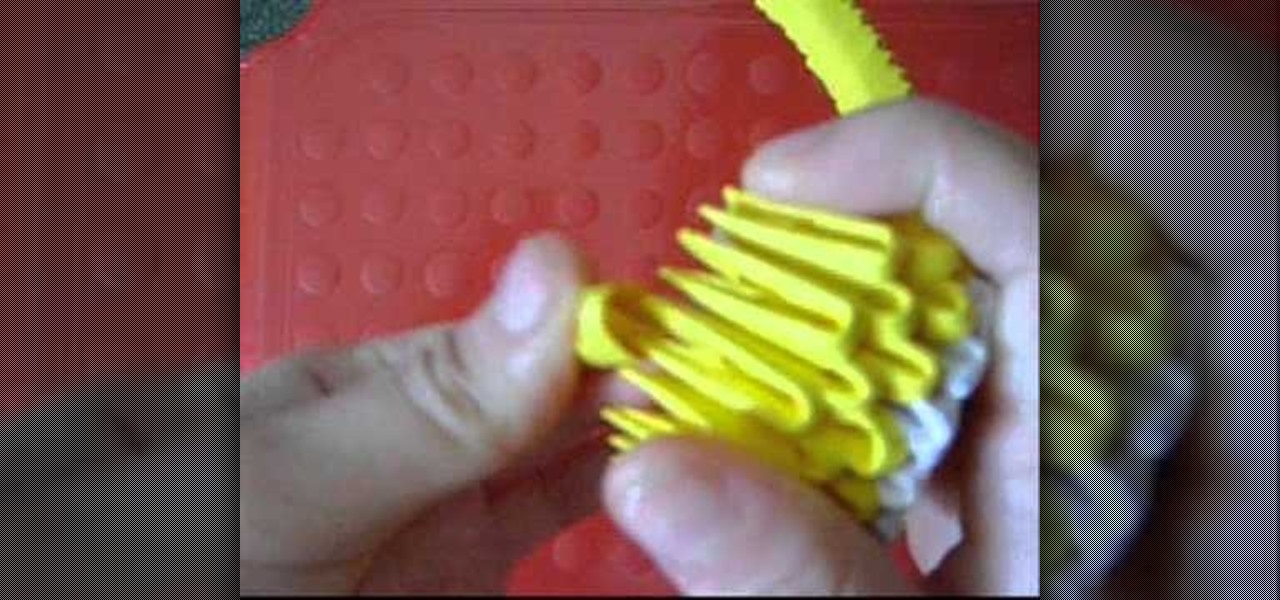
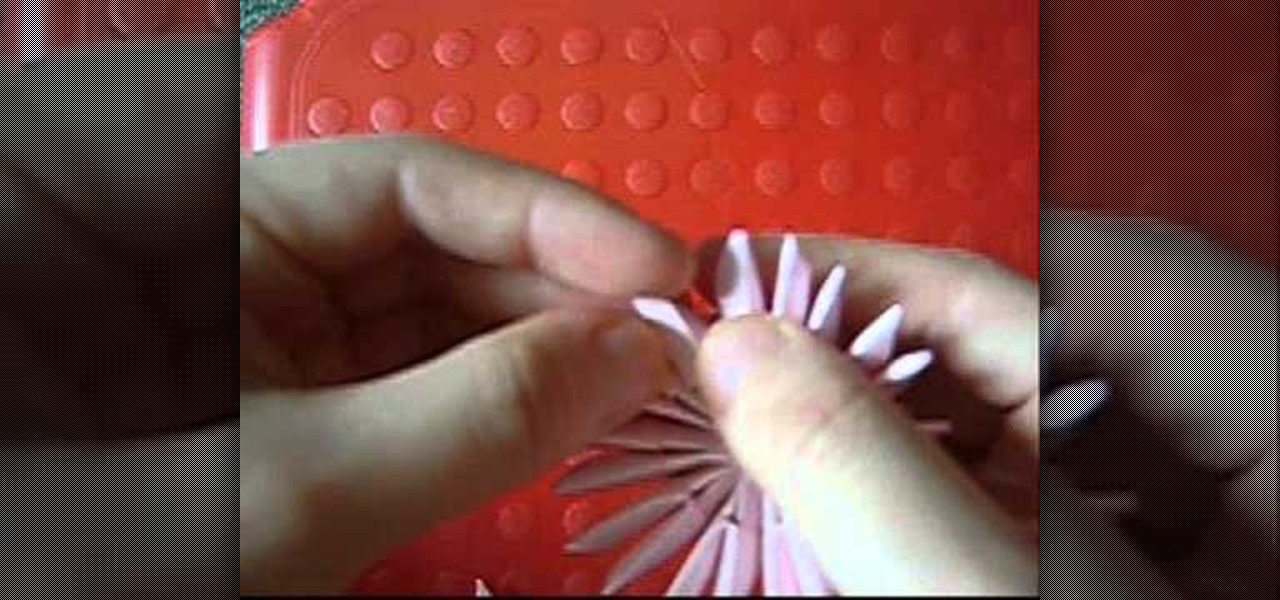
How To: Fold a modular origami magic circle
The first and most basic tenet of origami is creating shapes using a single piece of paper. However, when it comes to modular origami, which is complex and multi-sided, this rule becomes a little more lenient. It's actually rather common in modular origamit o see magic cubes or 36-sided stars being assembled from multiple pieces of paper.
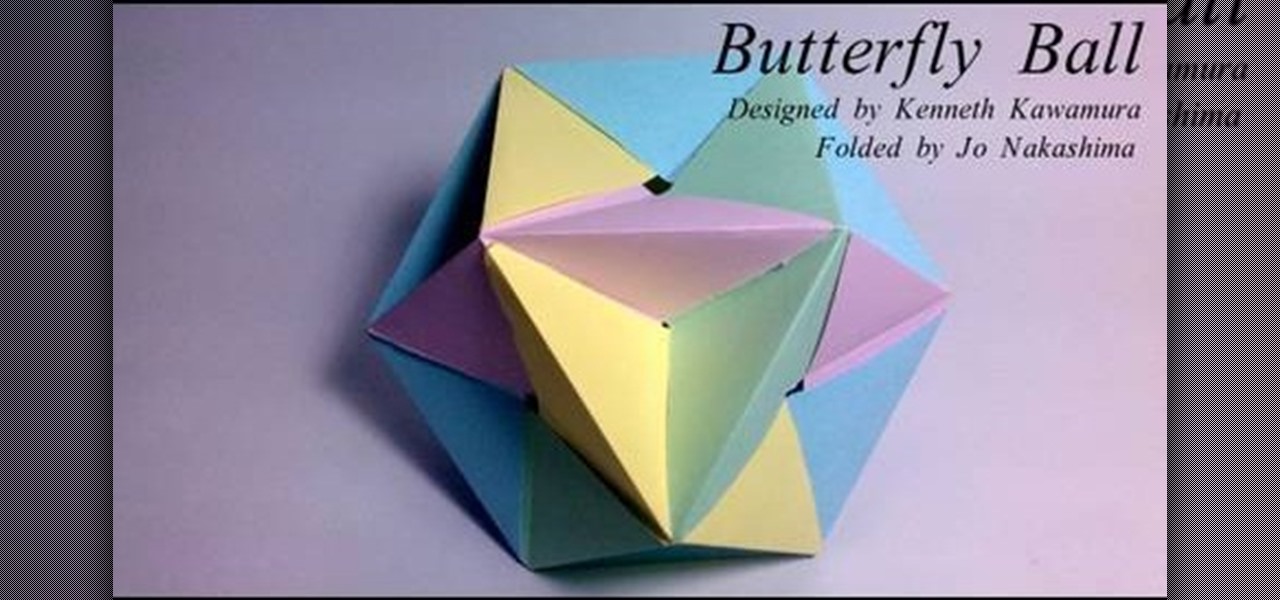
How To: Fold a modular origami butterfly ball
First of all, we're not going to lie: This butterfly ball origami project is not a simple one to fold. In fact, you should only attempt it if you're an intermediate or advanced origami student. Second, we have no idea why this star-like object is called a butterfly ball (perhaps because it looks like a cacoon?), but either way it's a very cool modern shape.
How To: Fold a small iambic icosahedron origami star for Christmas
Love folding origami? Then what better shape to fold for Christmas and the New Year than a star? A symbol of divinity as well as light and life during the dark days of winter, a star also makes great decor for Christmas trees and garlands.
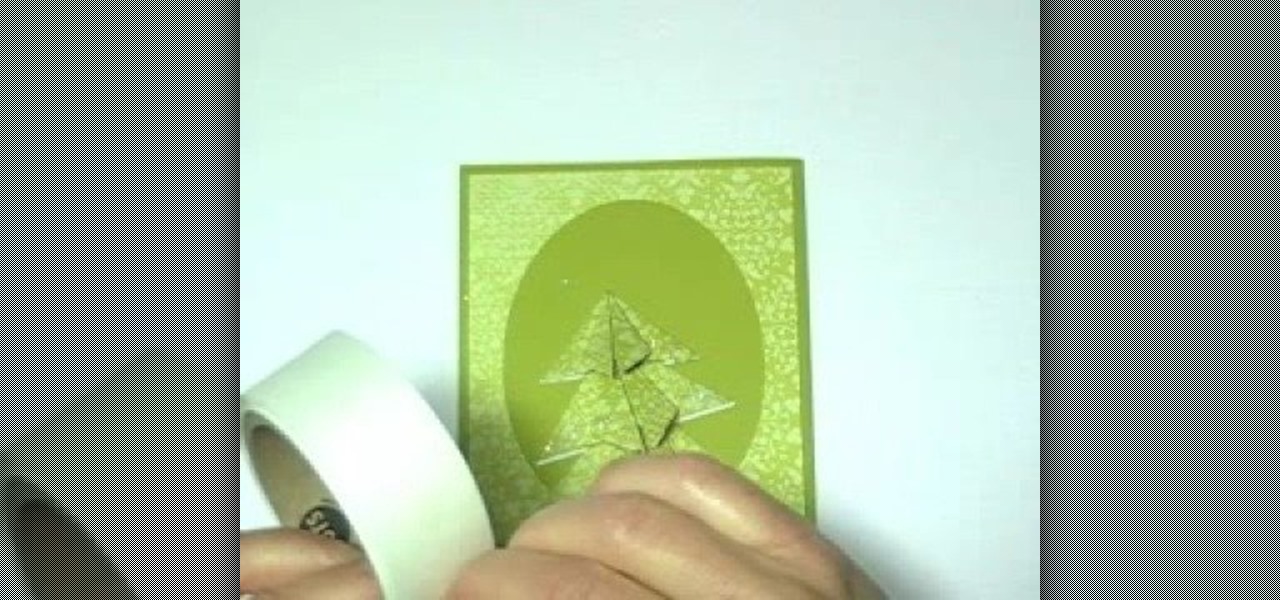
How To: Craft elegant origami Christmas tree cards
One of the most impressive and unique ways of crafting a Christmas card is via origami folding techniques. Using a few simple triangular folds, you can easily make the boughs of a beautiful Christmas tree out of paper, ready to be assembled onto a card.
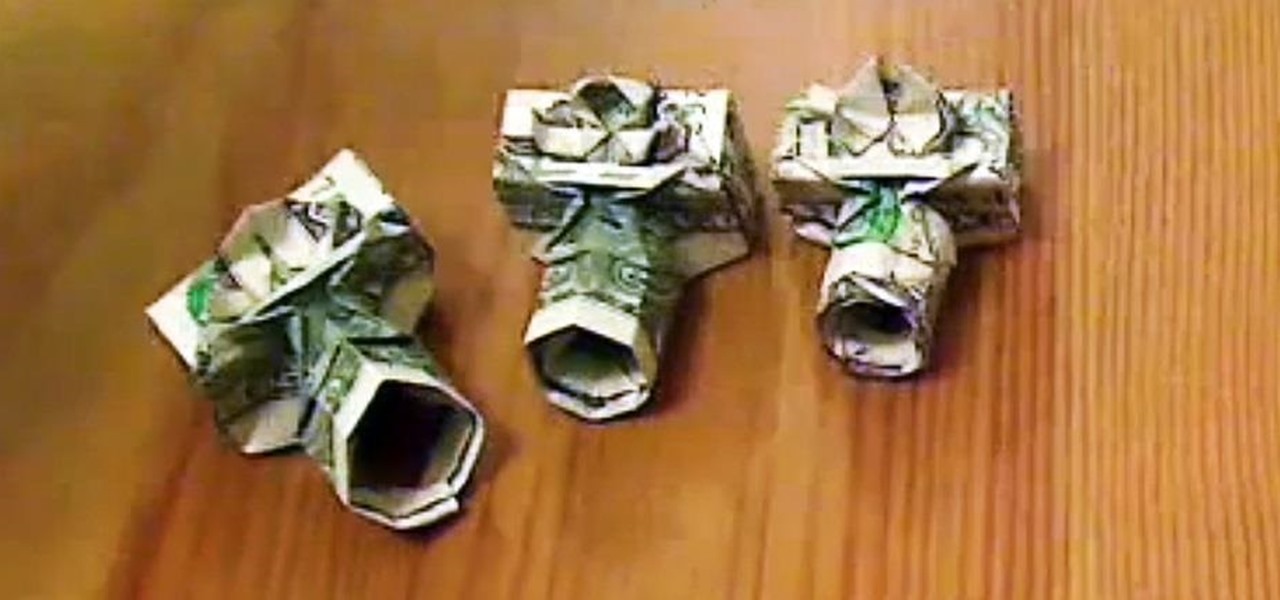
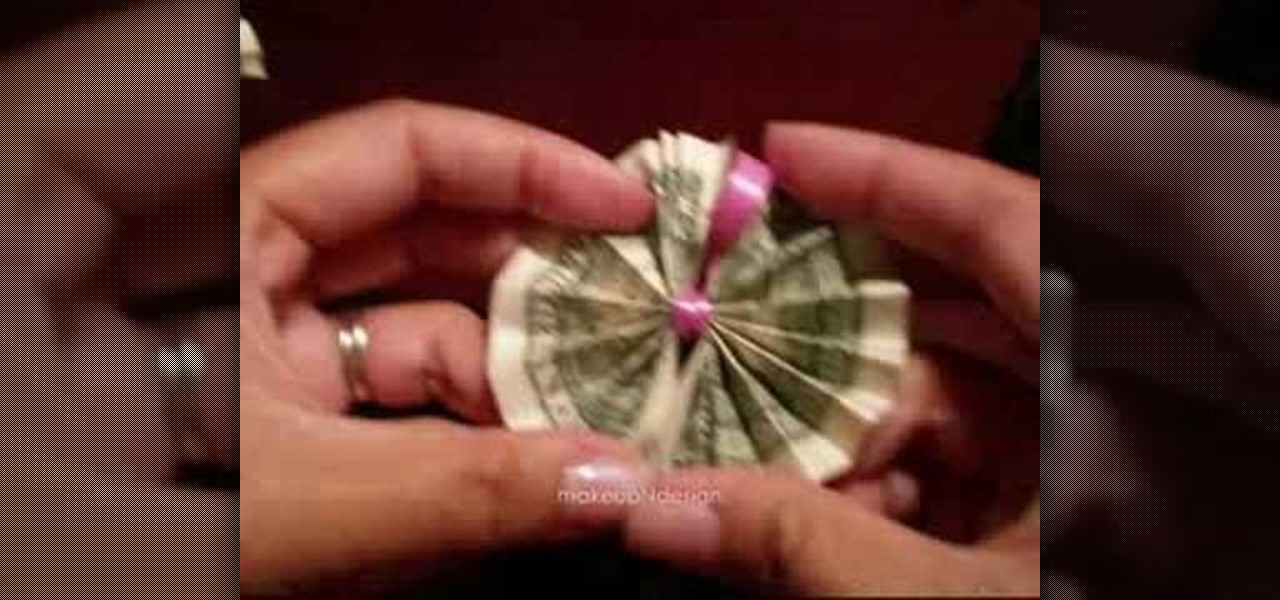
How To: Fold simple origami t-shirts from money
Are you sitting in class the last day before holiday break, simply dying over how long each minute is before that last bell rings and you get to head to Big Bear? Pass the time (though obviously do so discretely) by crafting these simple origami t-shirts. Each t-shirt is folded from a monetary bill, which we're pretty sure you have in your pocket.

How To: Fold origami love knots/crane eggs
You've heard about origami cranes before - they are, after all, the primer for all other origami projects. But what about crane eggs? That's right, crane (pre) babies! Sort of. Check out this video to learn how to fold crane eggs/love knots that are cute for putting in jars and gifting to friends.
How To: Fold origami straw lucky stars
Now you can literally count your lucky stars. Take a gander at this origami video to learn how to fold cute origami straw lucky stars. They're beautiful and adorable on their own, though they can be made quickly in large quanities to put into a pretty jar as a gift for a friend.

How To: Fold two versions of origami flat hearts
Most origami shapes are three dimensional. But what if you want to fold a shape to glue onto a Christmas or Valentine's Day card?

How To: Fold an easy fox out of origami for beginners
This project is great for anyone who is new to origami, or a project you can do with your kids. Take a regular piece of origami paper (10 cm by 10 cm) and follow the instructions in this video to fold your own origami fox.
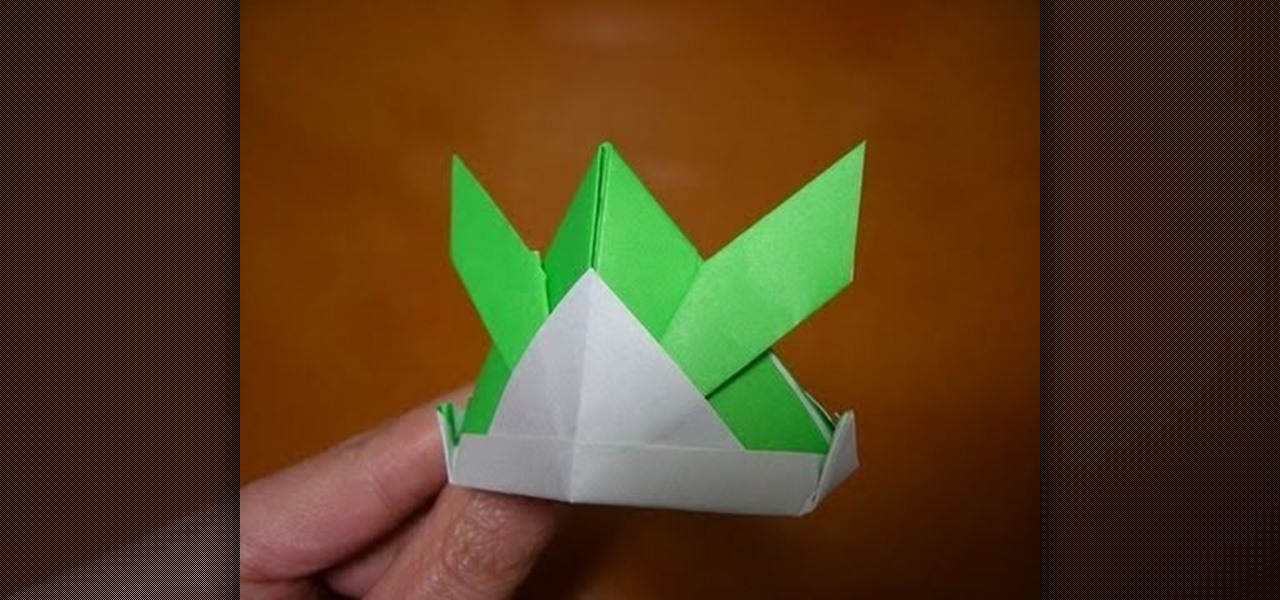
How To: Make a tsuno-kabuto samurai helmet out of origami
This is a very easy tutorial showing you how to fold your own tsuno kabuto, or samurai helmet, out of origami paper. This makes a great decoration or gift for a samurai lover, and can be folded with any size square paper.
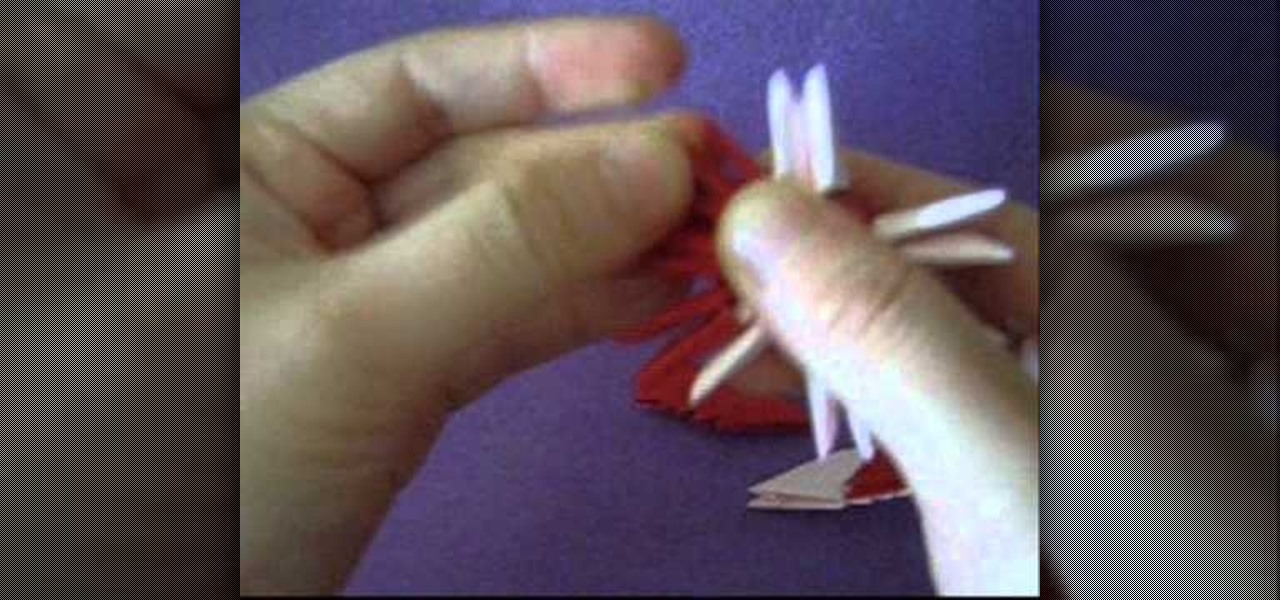
How To: Make a strawberry out of 3-D origami
Make sure that you already know the basics of 3-D origami - the folding of triangles. Once you have enough red, white and green triangles, you can form them into a fat, juicy strawberry! Practice also rounding out your corners.
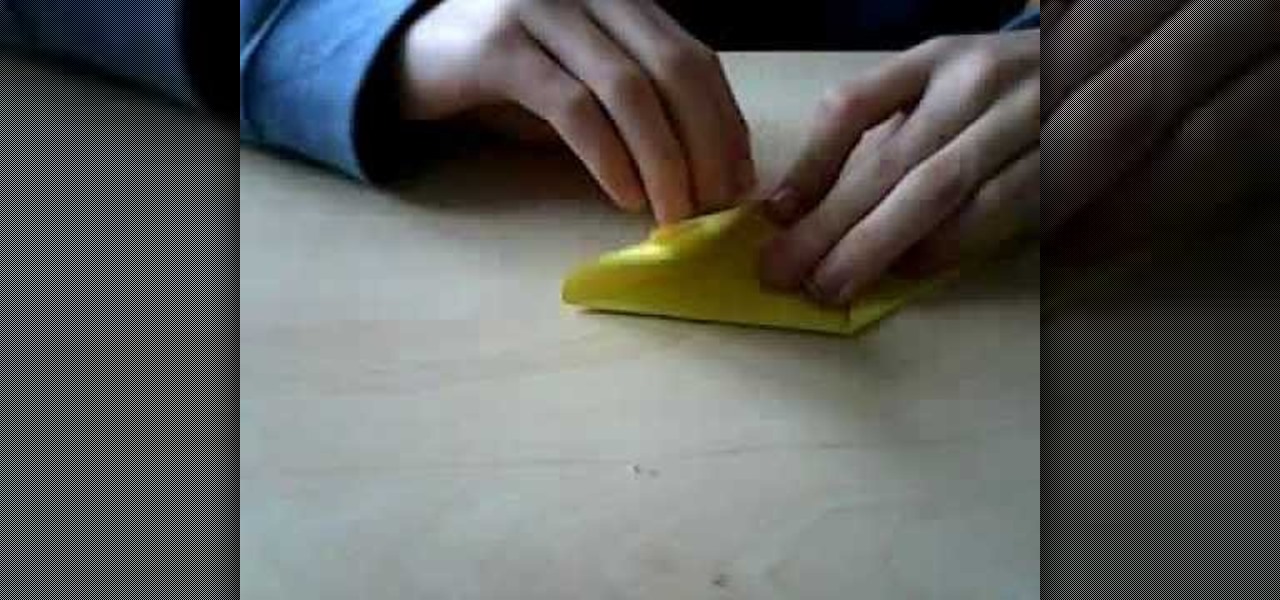
How To: Make a juicy lemon out of 3-D origami
You will need to have mastered the art of folding the triangles and a base before attempting this. If you have, then follow along and learn how to make your own lemon halves out of yellow and white origami paper!
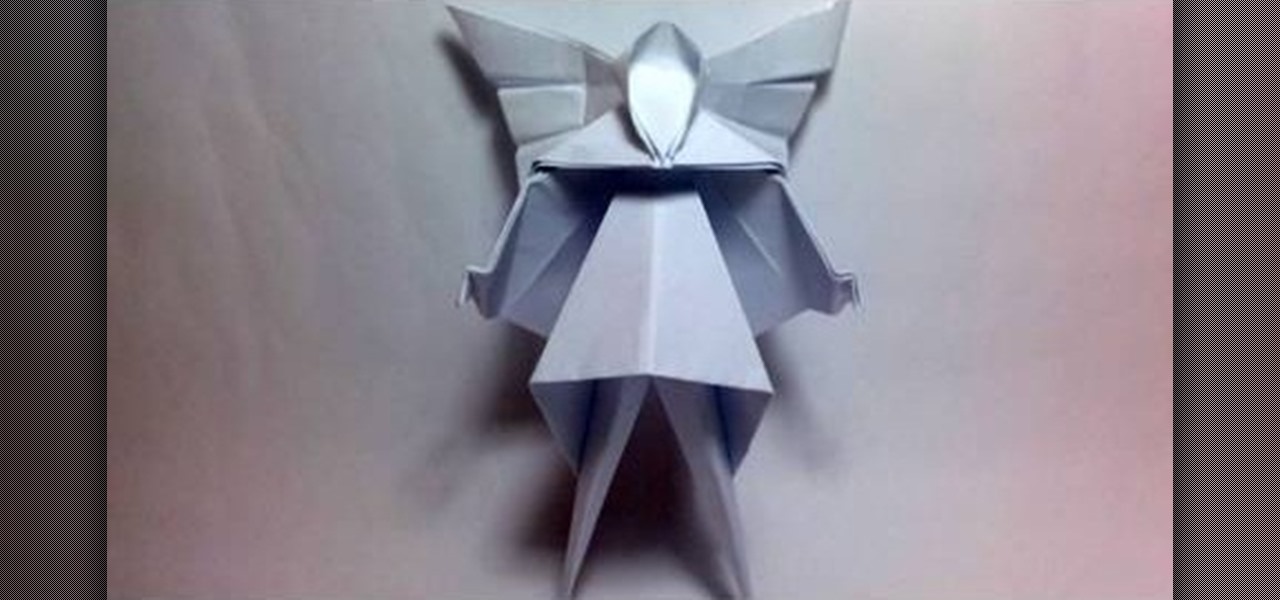
How To: Fold a Christmas tree fairy or angel with origami
Why buy an expensive tree topper when you can fold your own lovely Christmas tree fairy or angel? This also makes a great ornament! Start with a piece of origami paper, 18 cm by 18 cm, and follow the folding instructions in this video.
How To: Make easy and sturdy limbs in 3-D origami
Make sure you have perfected the triangle before moving onto this part of 3-D origami. This tutorial shows you how to make limbs (or any other kind of appendage or protrusion) sturdy and easily for your next 3-D origami project.
How To: Fold a little paper origami steamer boat
This is a good folding tutorial on a traditional origami steamer boat. To fold this steamer ship, you'll need any square piece of paper with a minimum dimension of 10 x 10 centimeters. It's a simple steamer that anybody could fold.

How To: Fold a five pointed shooting star out of origami paper
Make a wish! I wish... I knew how to fold a falling star out of origami. Well, now your wish is granted! This is an easy and fun tutorial that shows you how to fold a five pointed shooting star from origami paper!

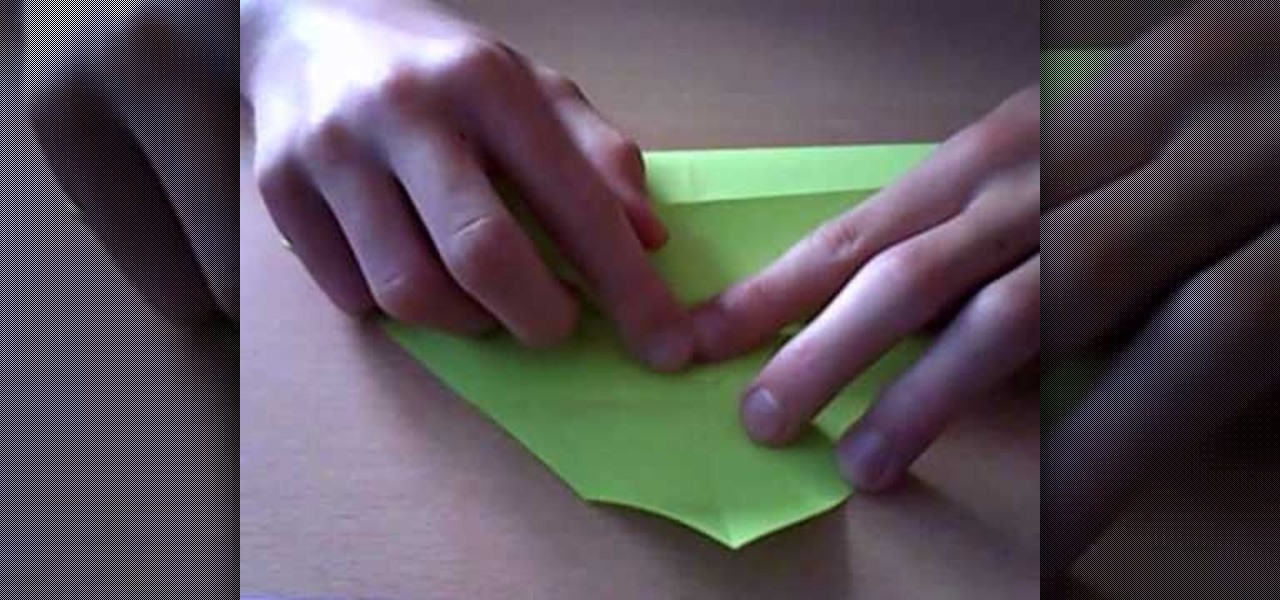
How To: Cut a pentagon from a square piece of paper
Cut a perfectly balanced pentagon from a square piece of paper! You can do this without measuring or drawing. Fold your square of paper as outlined in this tutorial, and then cut along several of the fold lines to end up with a pentagon!

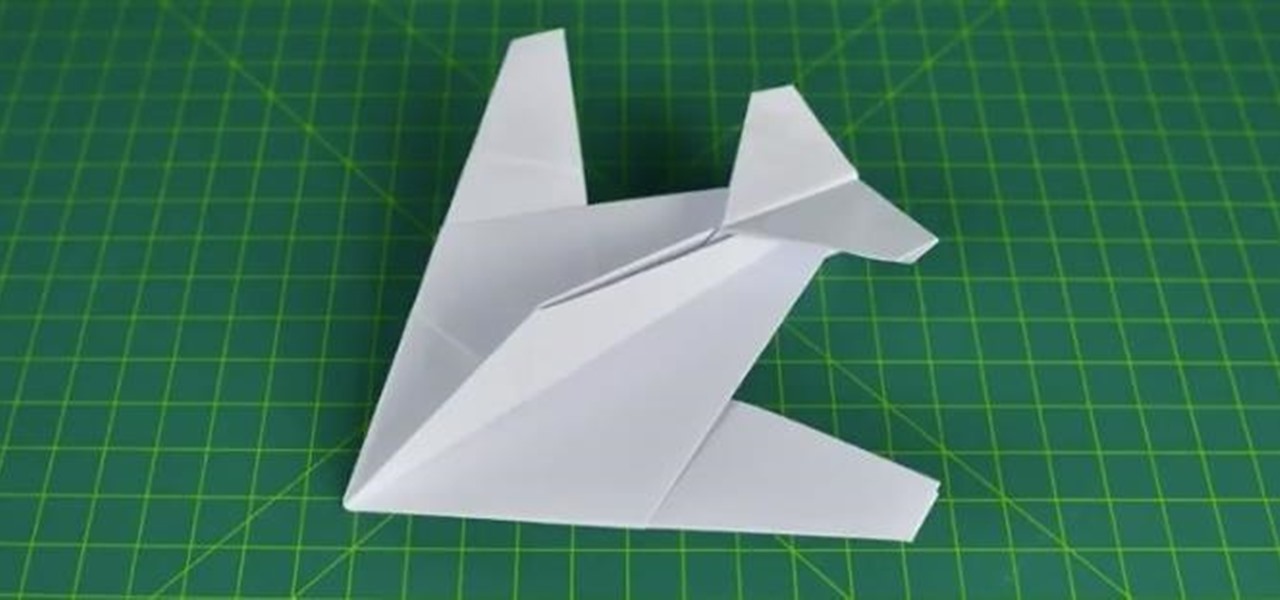
How To: Make a boomerang paper airplane
The first step to create a boomerang paper airplane is to take a square piece of paper and measure to make sure it is a perfect square. You must then fold all of the corners of the cut of paper into the middle and then fold in half. The wings must then be folded down on the two chosen side. The final step is to fold the wings up to give the crease and cut of paper it's boomerang like shape. The video ends with examples of the type of flight that can be expected from a boomerang shaped paper a...

How To: Make the fastest paper airplane
This video explains how to make a paper airplane for effectively. The first step is to fold your basic piece of paper into a triangle shape. After the creases in the paper have been created you must unfold the paper again. The second step is to fold the paper in another triangle shape starting from the opposite corner. After the shape has been formed you must refold the original triangle shape of the adjacent fold. The narrator then makes the plane into a smaller triangle shape by again foldi...

How To: Make paper flowers for fun
This video explains how to make paper flowers in just a few simple steps. The first step to make a paper flower is to take a simple piece of white printer paper and draw any design you find suitable on the blank paper. The next step is to fold the paper over two times to create a smaller square. The second step requires the paper be folded from it's edges into a triangle shape. The last step involved opening the paper from below to give the flower a three dimensional shape. It is shown that m...