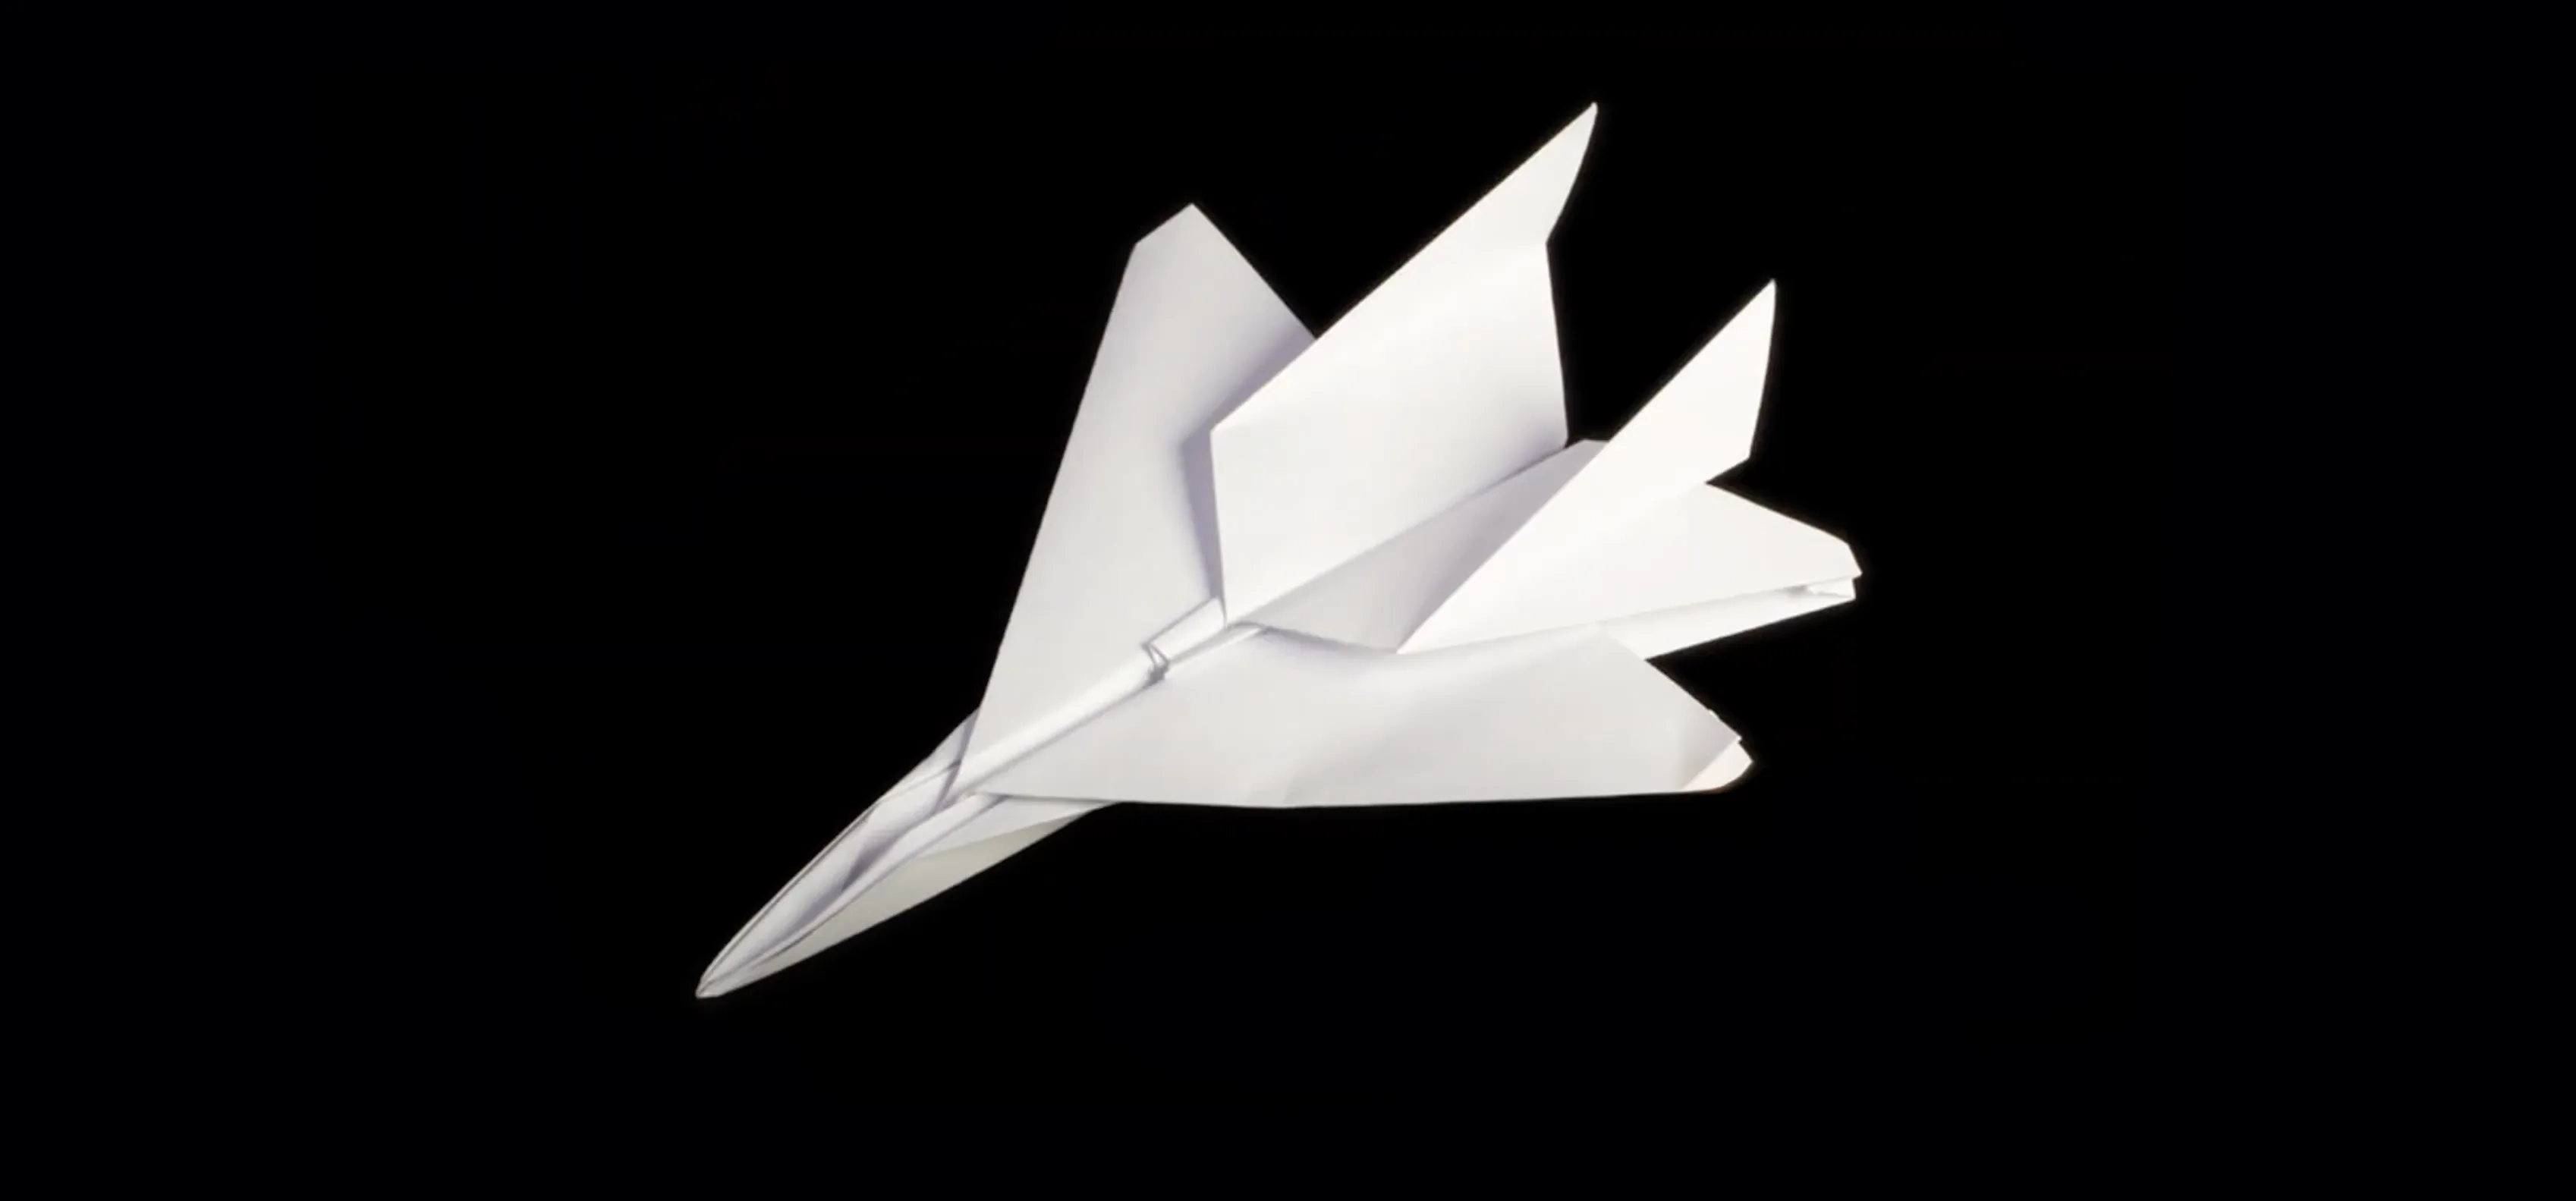
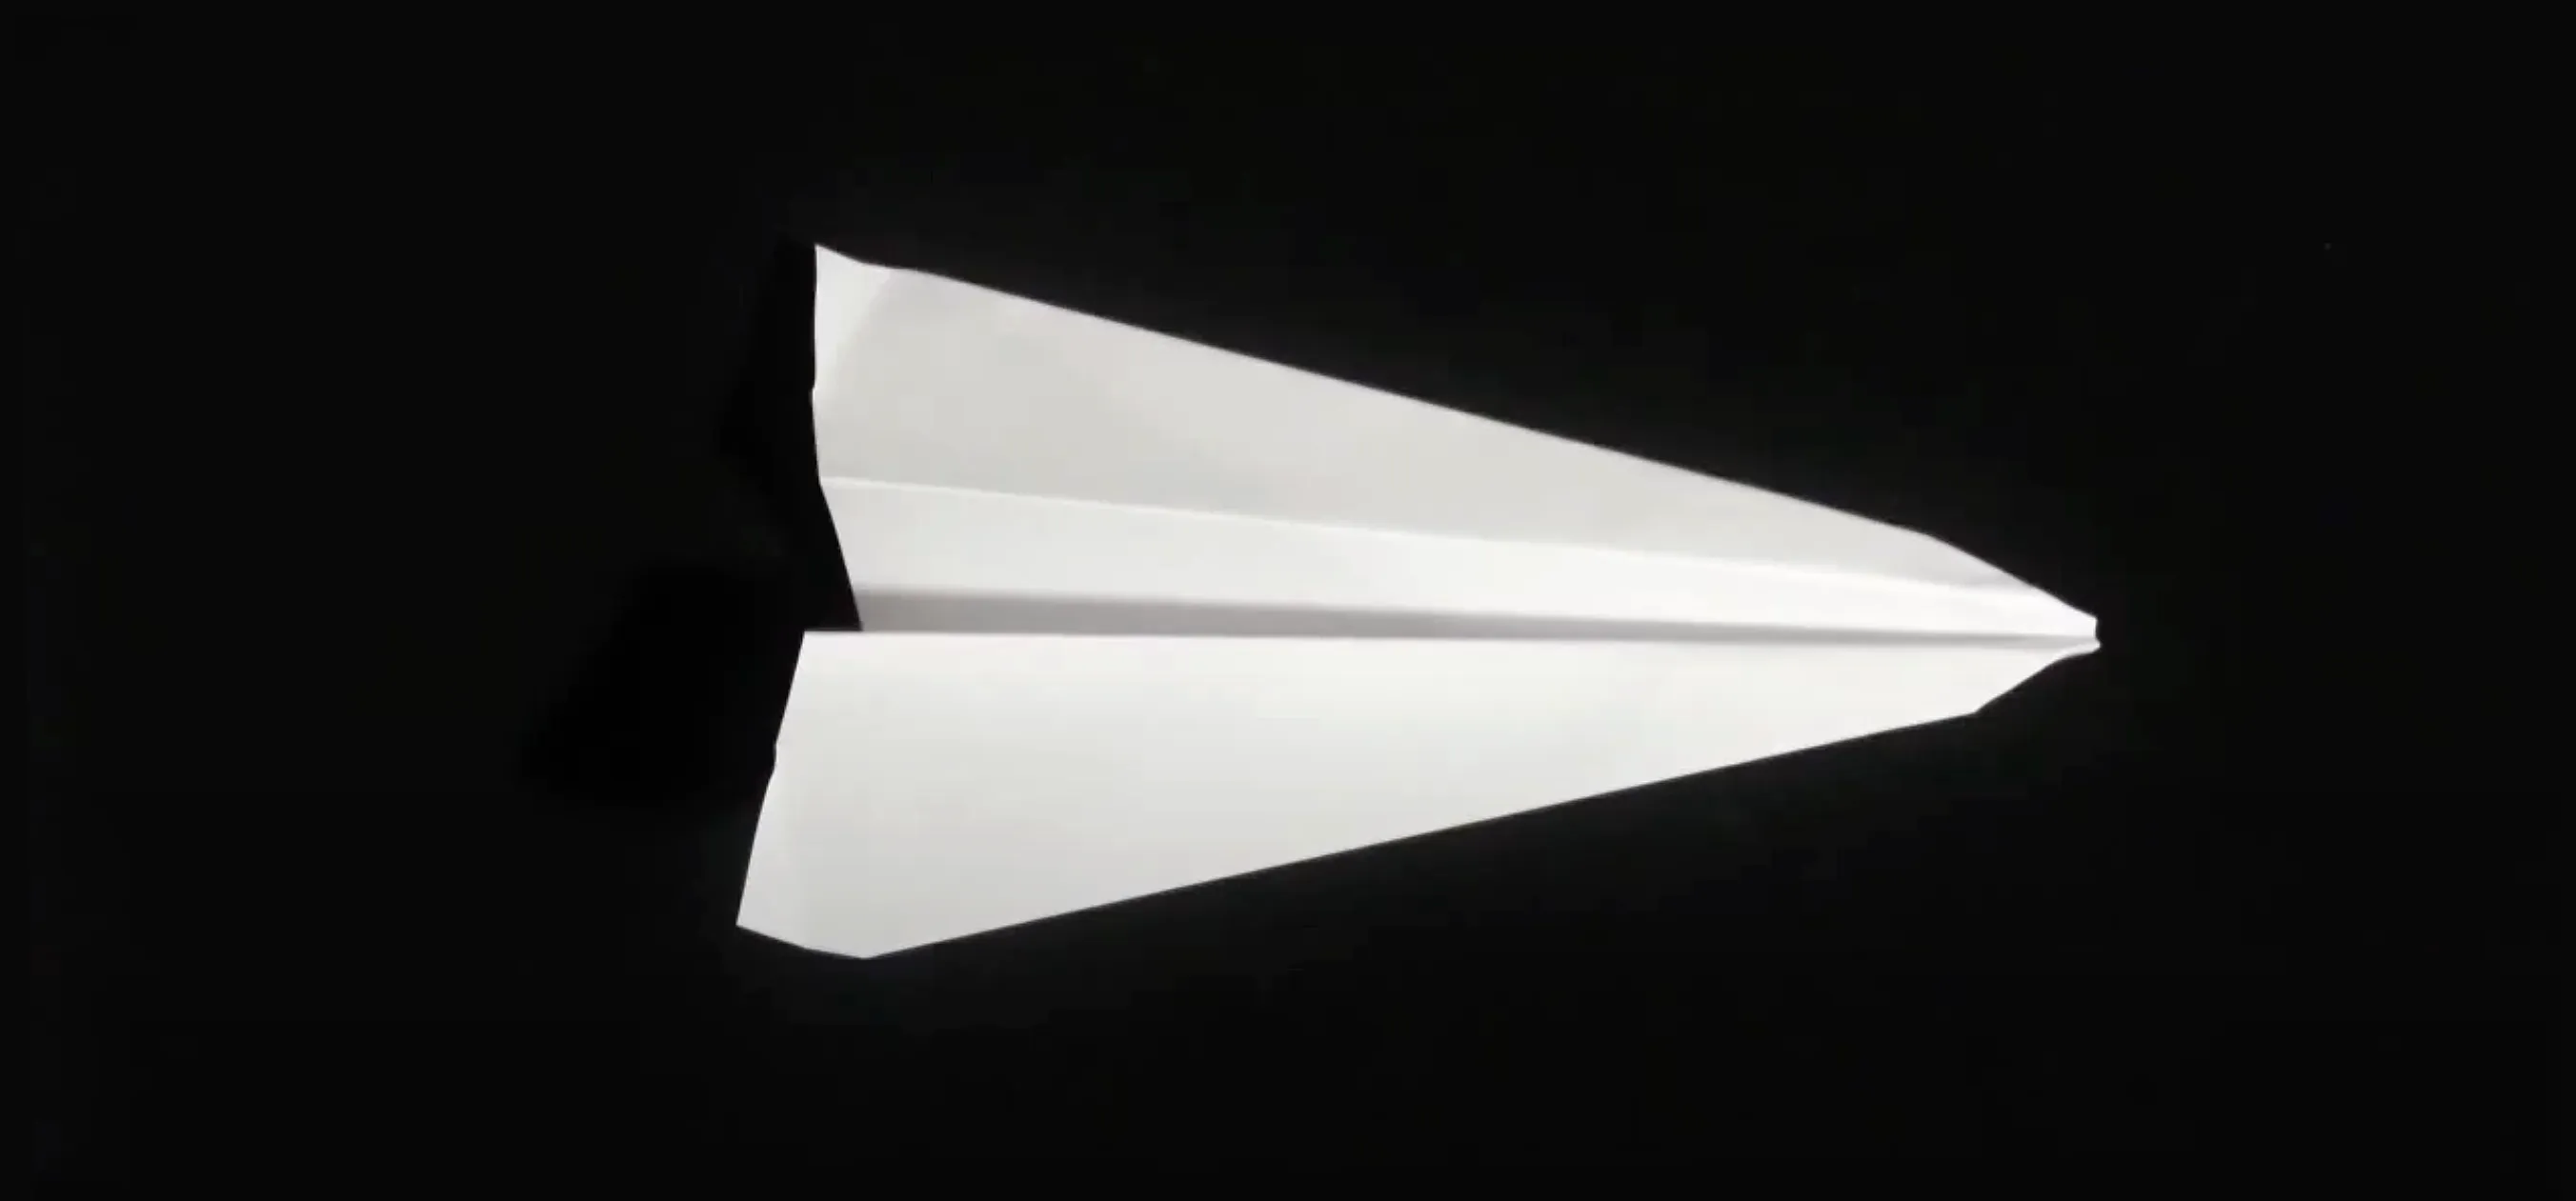
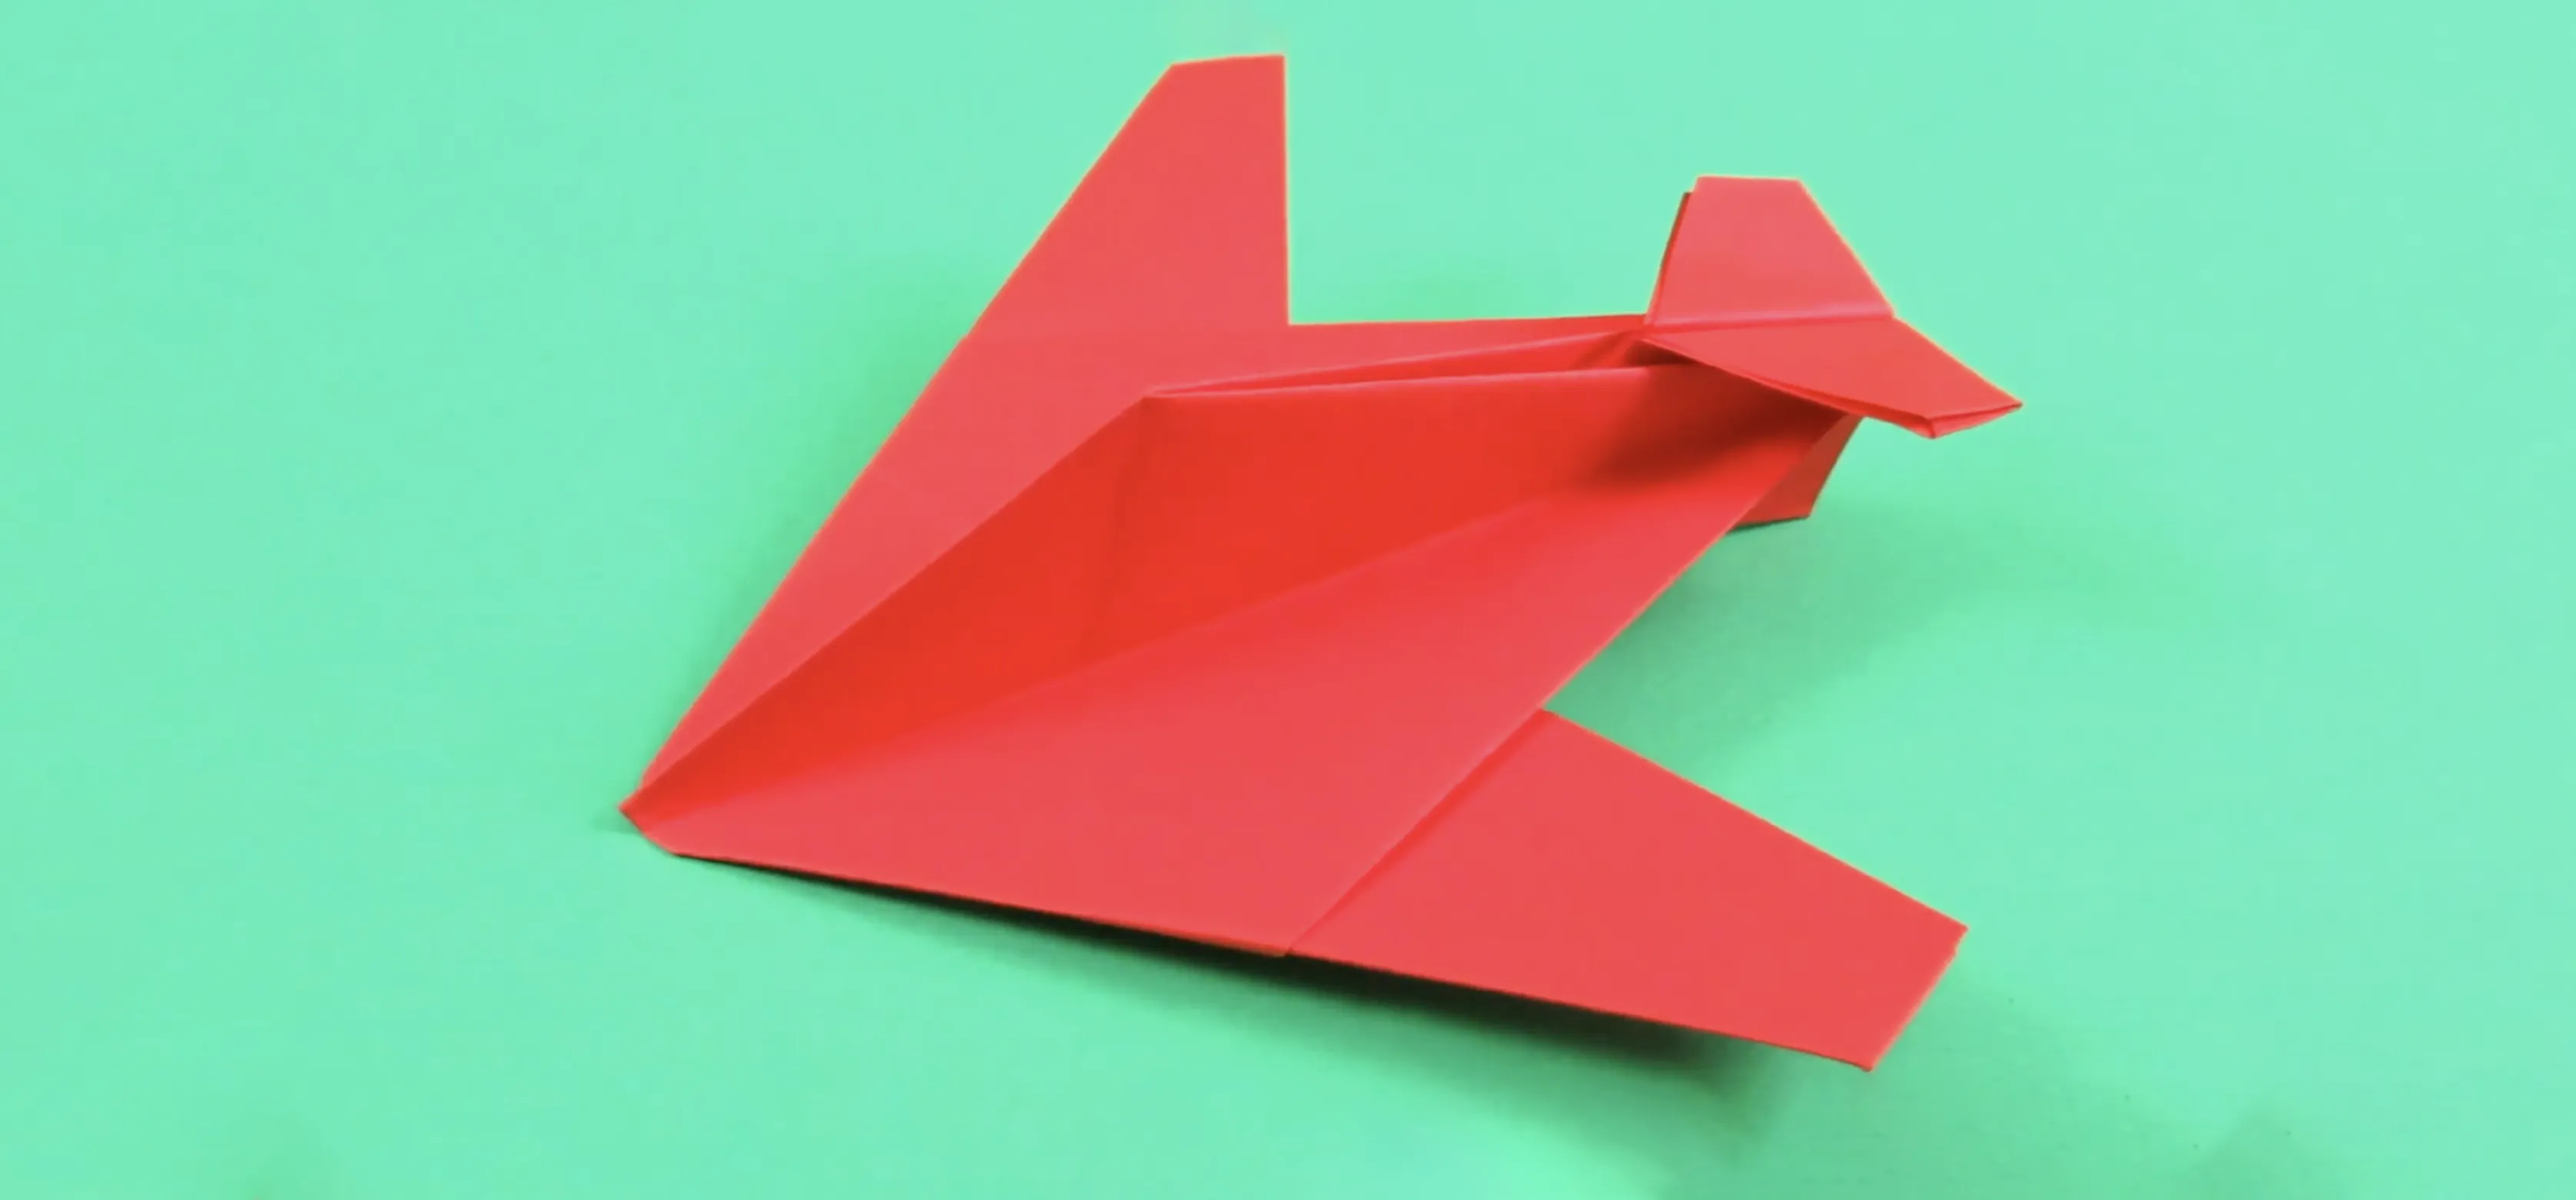
Learn how to use printer paper to make a paper airplane. Find a piece of paper shaped like a rectangle. A sheet of computer printing paper or school notebook paper is a good size and weight. Lay the paper on a table with one of the long edges closest to you. Fold the paper in half lengthwise. When the two edges match up, use your thumbs to make a sharp crease along the fold. Take the upper left corner of the top layer of paper and fold it diagonally down toward the first crease you made. When the edges match up, use your thumbs to make a sharp crease along the new fold, which should create a small triangular flap. Turn the paper over. Take the upper right corner of the top layer of paper and fold it diagonally toward you, until the edge lines up with the first crease you made. When the edges match, make a sharp crease along the new fold. (This is a mirror of what you did in step 4.). Take the newly formed diagonal edge on the right side of the paper, and fold it straight down toward the first crease you made. When the edges match, make another sharp crease. Turn the paper over, and again fold the diagonal edge down toward the first crease you made; make another sharp crease. The paper should now look like a triangle with a 90-degree angle. Form the wings by flipping the airplane over and repeating steps 7 and 8. Hold the paper in one hand along the first crease you made. Let the wings of the plane flare out. At a point 4 or 5 inches from the nose of the plane, make a 1/2-inch rip in the bottom part of the plane; make another rip 1/2 inch behind it. Fold this tab up. Hold the airplane near the tab and toss the plane with an overhand, horizontal forward motion.
Apple's iOS 26 and iPadOS 26 updates are packed with new features, and you can try them before almost everyone else. First, check Gadget Hacks' list of supported iPhone and iPad models, then follow the step-by-step guide to install the iOS/iPadOS 26 beta — no paid developer account required.


Comments
Be the first, drop a comment!