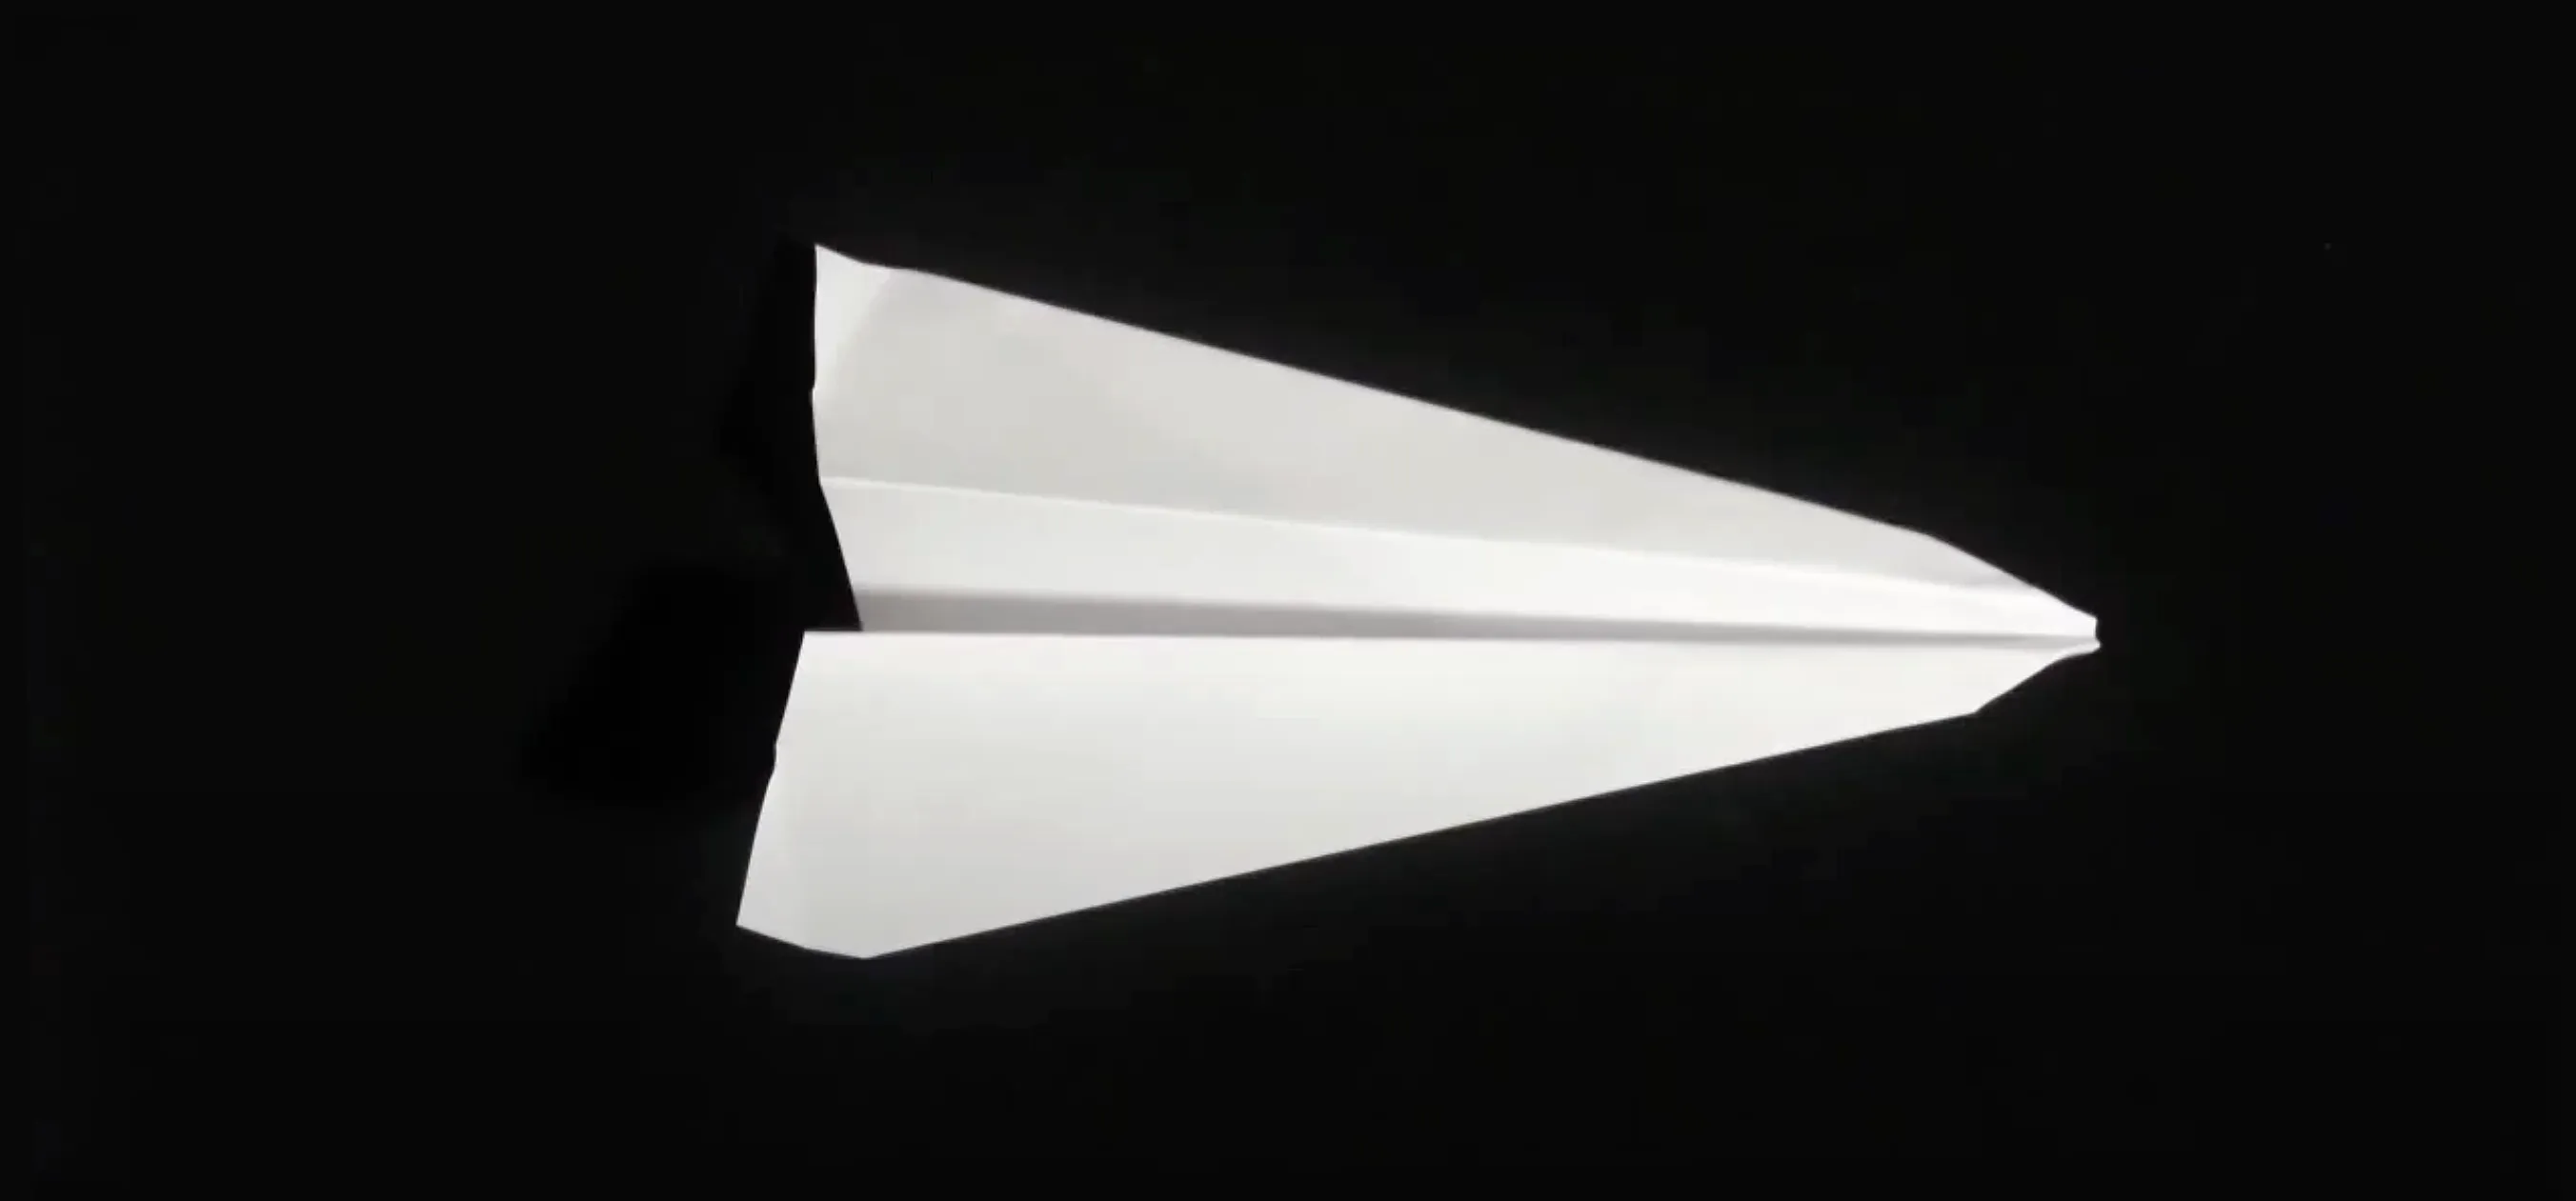
Create a photo frame out of an origami paper or any art paper in minutes! 1) Lay the paper down on a flat surface. 2) Fold the paper in half with the shortest ends together. 3) Fold in half again so that you get quarters. 4) Unfold step#3 and with the first fold at the top, fold the top corners down along the center fold. 5) Unfold the corner flaps, open up the original fold and fold the corner flaps inside, now close the original flap. 6) Fold the lower edge up as far as it will go, do the same on both sides, then unfold them. 7) Fold the top corner down to the crease made in the previous step. 8) Take hold of the top flap and the corner you just folded down in one hand and hold the bottom flap in the other, and gently draw them apart. 9) Fold the two parts of the paper in the middle down into triangles so that it lies flat. 10) Fold the outer edges in along the existing creases. 11) Place your photo lengthwise in the center of the paper. There should be a piece of paper sticking out at each corner. Fold these corners in over the edge of the photo. 12) Remove the photo from underneath the flaps and insert the corners into the triangle pockets on the flaps.
Apple's iOS 26 and iPadOS 26 updates are packed with new features, and you can try them before almost everyone else. First, check Gadget Hacks' list of supported iPhone and iPad models, then follow the step-by-step guide to install the iOS/iPadOS 26 beta — no paid developer account required.


Comments
Be the first, drop a comment!