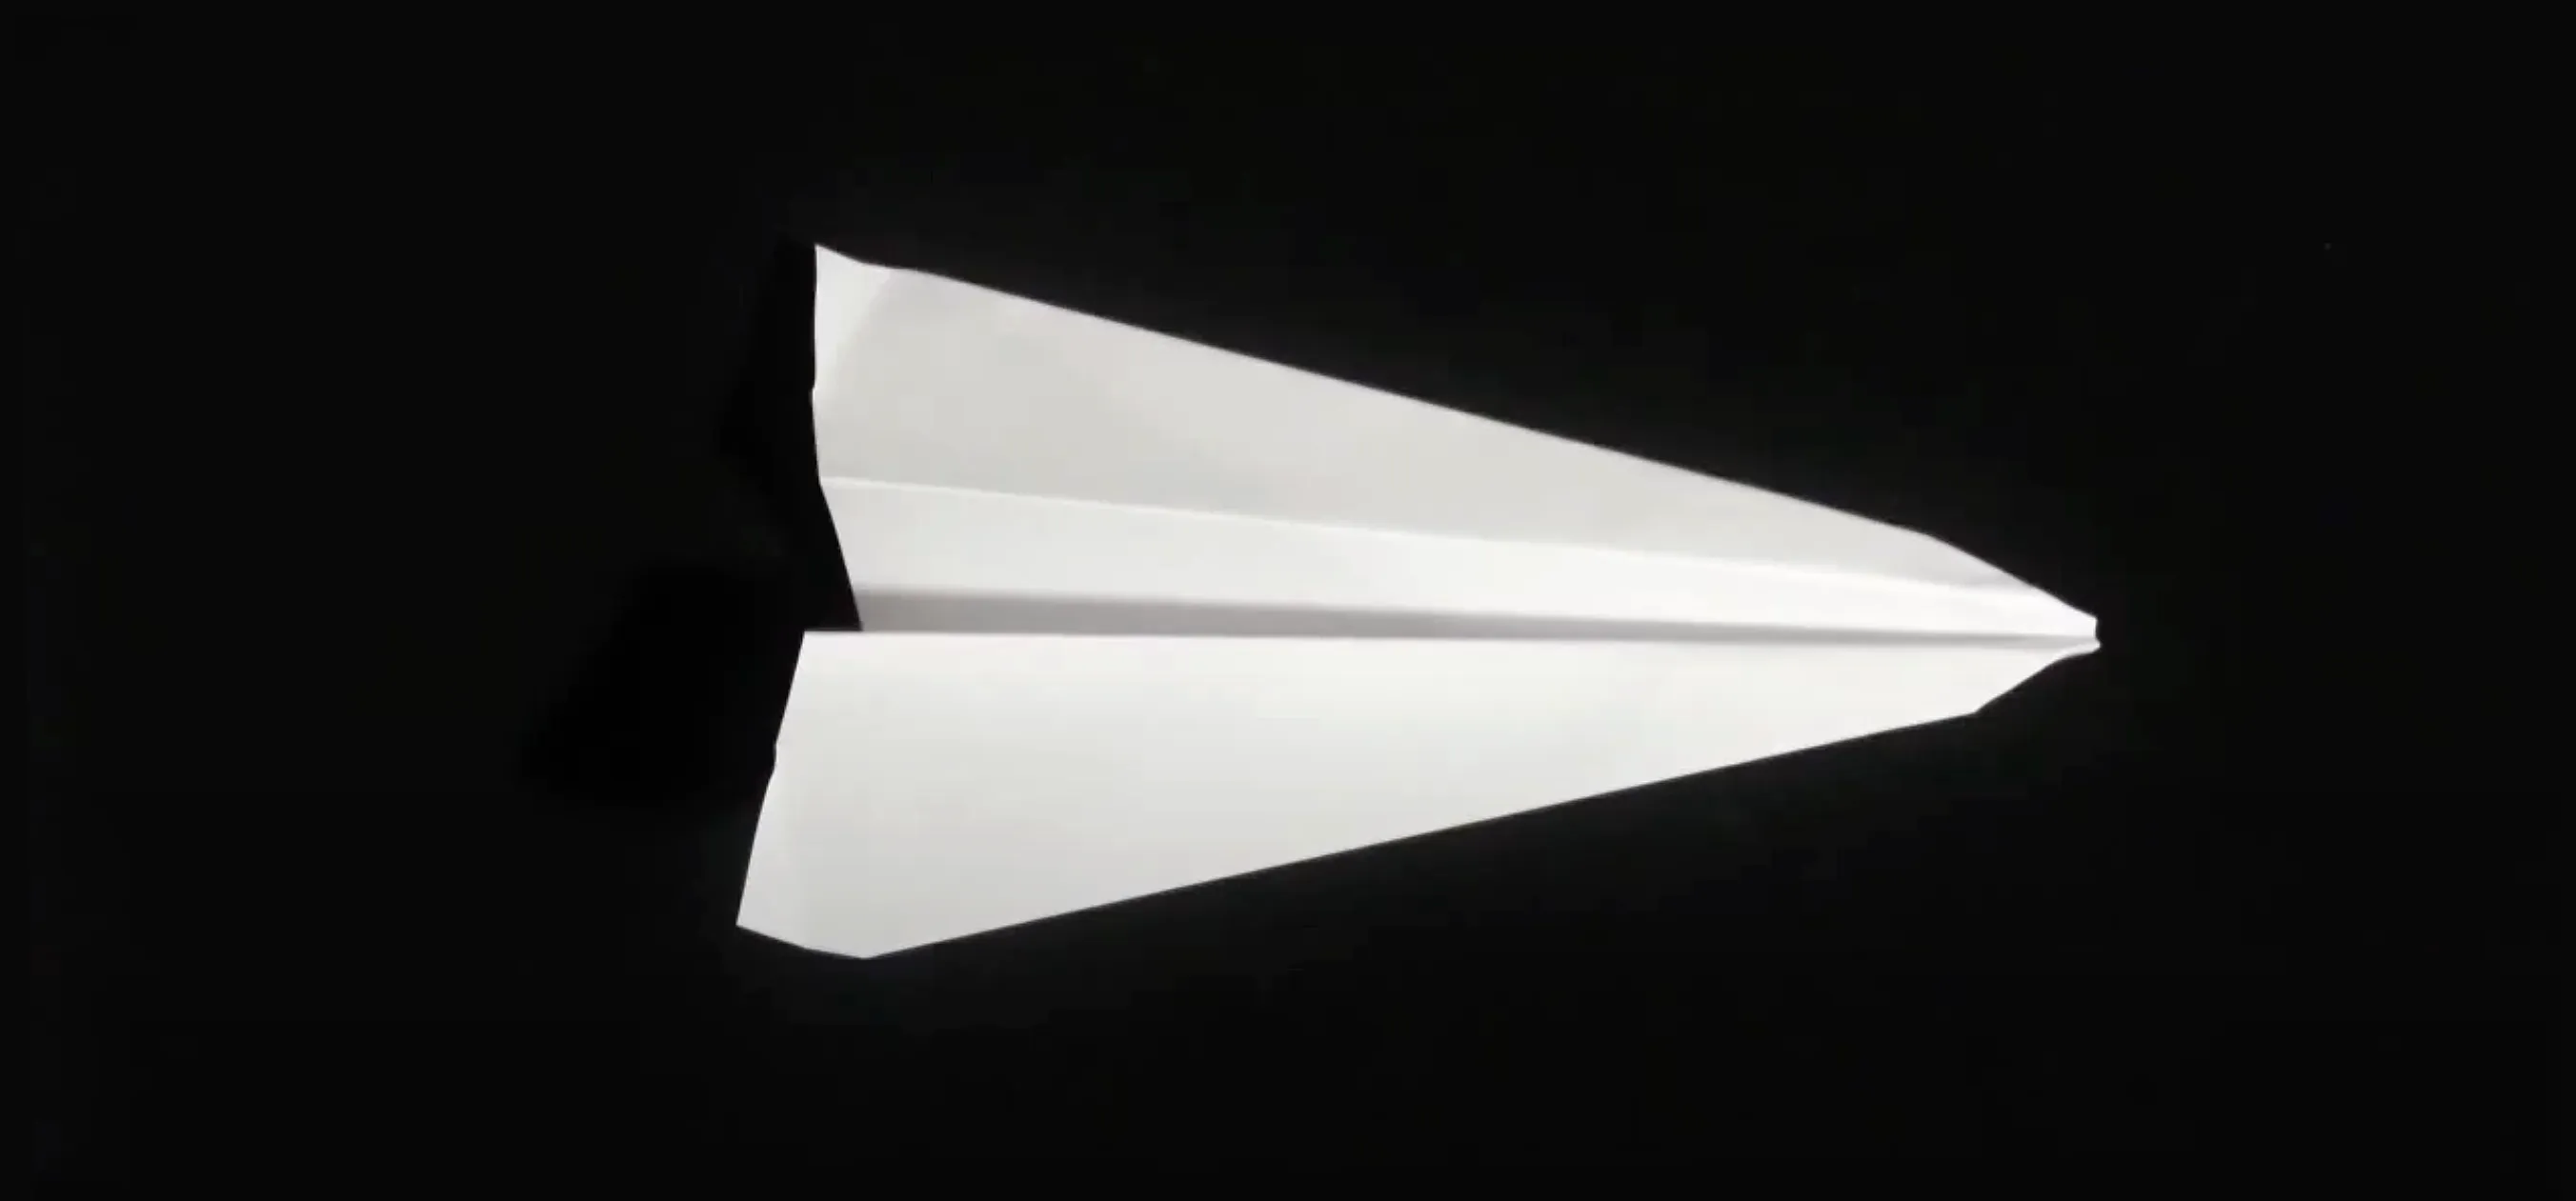
This origami video tutorial will show you how to make an origami paper bird and tree. First, fold the square piece of paper in half diagonally. Then fold the paper in half again. Now, fold it in half and open the last fold back up. The flap that is unfolded now is the one that you open slightly and flatten. Flip the paper over and do the same thing you just did to the other side, as well. Now that the paper is a small square, you take one of the bottom corners (the open ones) and you fold it in. Separate part of the side and fold in that corner slightly so that it looks like a small head peering over the paper. Put the extra side back down on top of the head. Now, take the other side and do the same thing, but make a smaller fold. This fold shouldn't show. Flip the paper over and fold the other bottom corner up half-way to the middle. Now take the top level of paper and fold it in. Flip the paper over again and fold the flap sticking out in half (it looks like a chimney on a house), and open it up again and flatten it the same way you did to get the small square when you started. Fold the top flap of the square upwards now, and fold that same flap in the smallest bit. Lastly, fold in the right hand top corner in about 2 times more than the corner on the other side, and draw the bird some eyes.


Make an origami bird and tree
Click through to watch this video on origami-club.com
External Content
www.origami-club.com
Apple's iOS 26 and iPadOS 26 updates are packed with new features, and you can try them before almost everyone else. First, check Gadget Hacks' list of supported iPhone and iPad models, then follow the step-by-step guide to install the iOS/iPadOS 26 beta — no paid developer account required.


Comments
Be the first, drop a comment!