

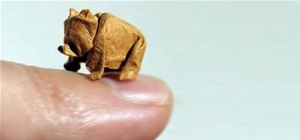
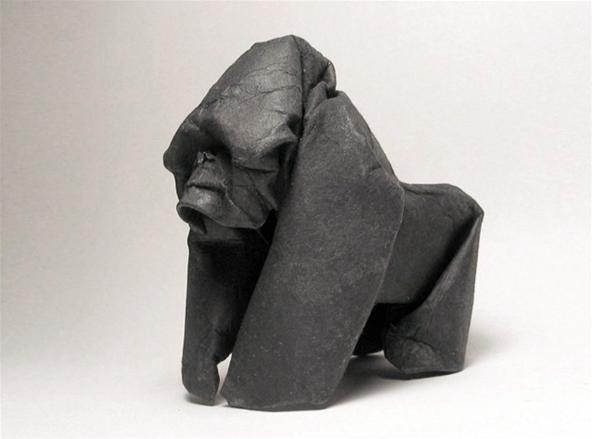
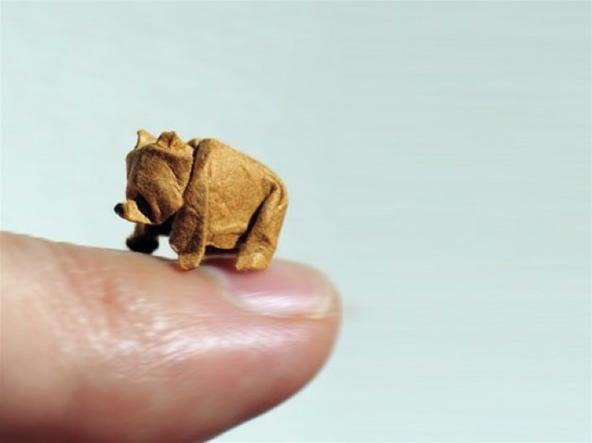
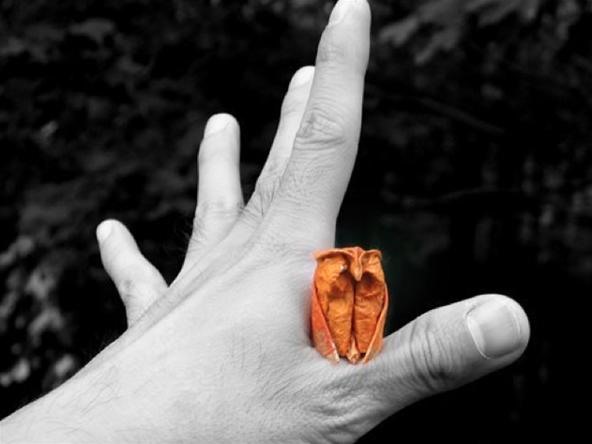
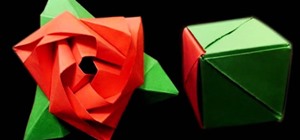
 Sounds like an anomaly, right? When I was a kid folding frogs, my mother gave me origami paper that was most certainly dry. But the works below by Vietnamese-American artist Giang Dinh were folded with one *wet* piece of paper. It's a technique called "Wet-Folding", invented by the great Japanese origami master Akira Yushizawa (pictured right).
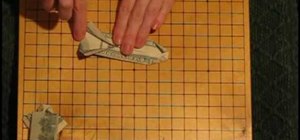
Yushizawa was the first to contextualize origami as more of an artform than a craft, and he did so by introducing a more organic, sculptural look—one with soft and curved creases and rounded shapes. Yushizawa created these "sculptures" by dampening his paper, allowing more flexibility and freeform to the folding. The process is simple, but it requires some practice—once the paper is wet, you get one shot to fold your model. Here's how you do it:
- Choose your origami model and master the folding first. Once you get the paper wet, you will need to fold quickly.
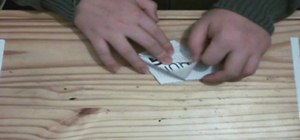
- Once you're ready to go, mist the paper with water. Don't drench it—get a water bottle and *minimally* spray water evenly across the paper, holding the bottle about one foot away. The paper shouldn't be wet, but ever so slightly damp. Origami master Robert Lang uses a damp cloth to wipe the surface: "The most important aspect of the whole process is the dampness of the paper. Too little, and the paper will be too stiff; curves will spring apart, and sharp creases will break along the fold line. On the other hand, if the paper is too damp, that's even worse; the paper will start to come apart, getting fuzzy along creases and potentially splitting at stress points. The optimum level of dampness gives the paper the feeling of leather; a bit floppy, but not soggy. If the surface is shiny, that's too wet; set the paper aside and let it dry a bit to bring it back to the right consistency."
- Next, fold the model. Do it as you would usually, but make sure not to make those extra sharp creases—just press down with your fingertips, and don't press down on the table (you should fold with your hands suspended in the air). If the paper gets too dry, lightly mist it again. This is where the artistry comes in—use your fingers to add "sculpted" details. Give it a face, or crinkle and round your edges.
- Let it dry. Your figure may need clothes pins, binder clips or a rubber band to hold it in place. If these don't work, you may need to just hold it in your hand until it is stiff.
- Make something amazing and email it to us at wonderment [at] wonderhowto.com. We'll show off the best ones!
Just updated your iPhone? You'll find new emoji, enhanced security, podcast transcripts, Apple Cash virtual numbers, and other useful features. There are even new additions hidden within Safari. Find out what's new and changed on your iPhone with the iOS 17.4 update.
SOURCES Giang Dinh, Robert Lang, Gilad's Origami


4 Comments
how did you make that tiny bear???? its to cute!!!!!!!
Is that las one a hand vagina!?!?!?!?!
owl?
a very useful guide
Share Your Thoughts